
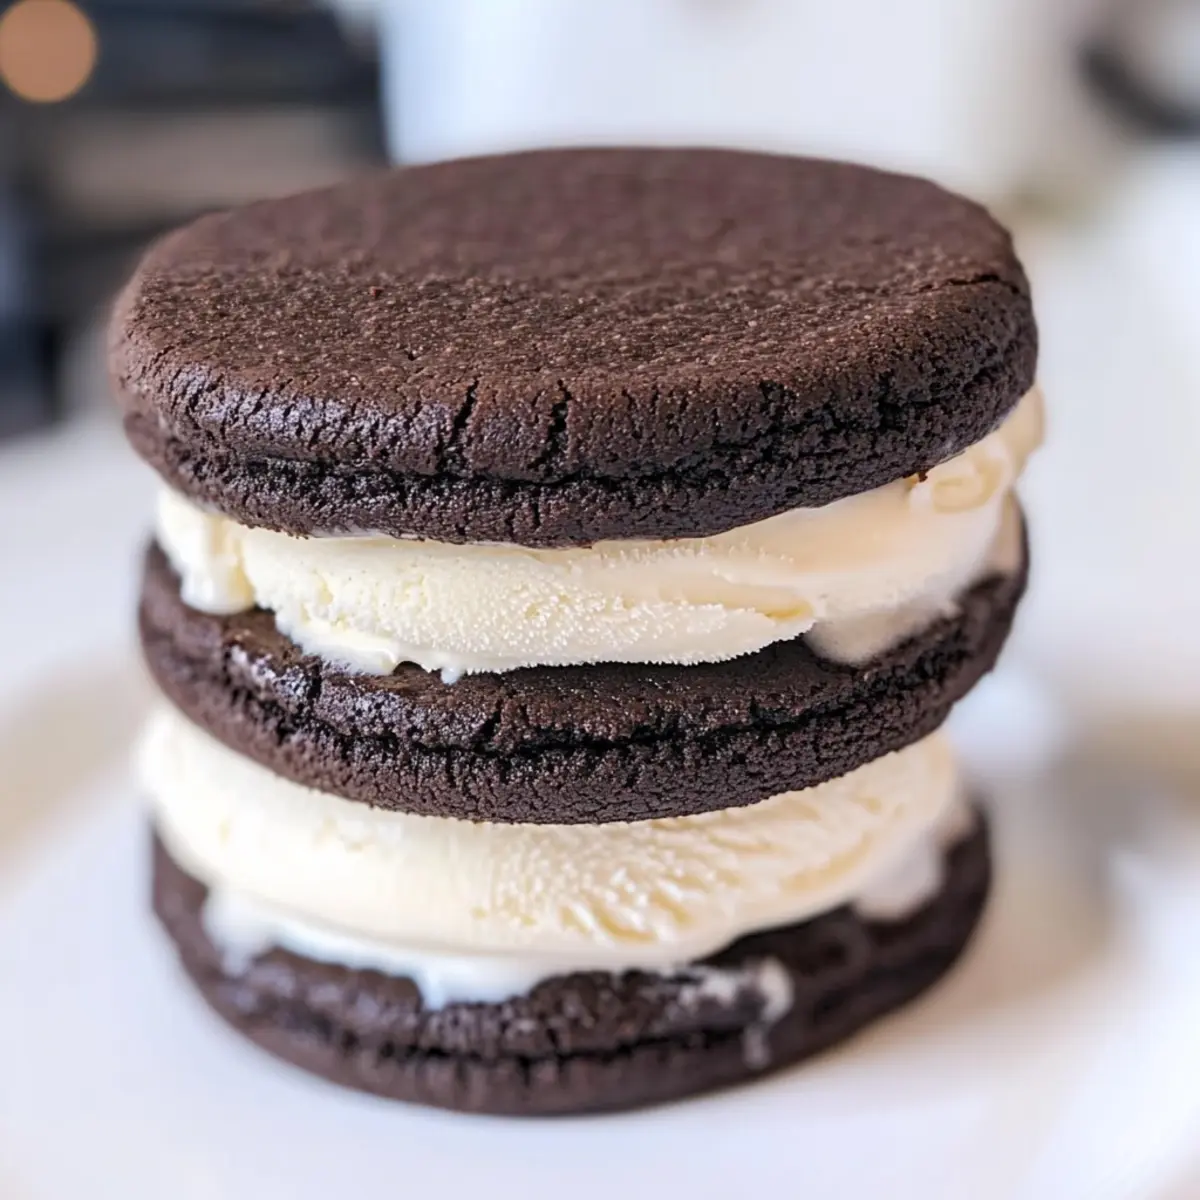
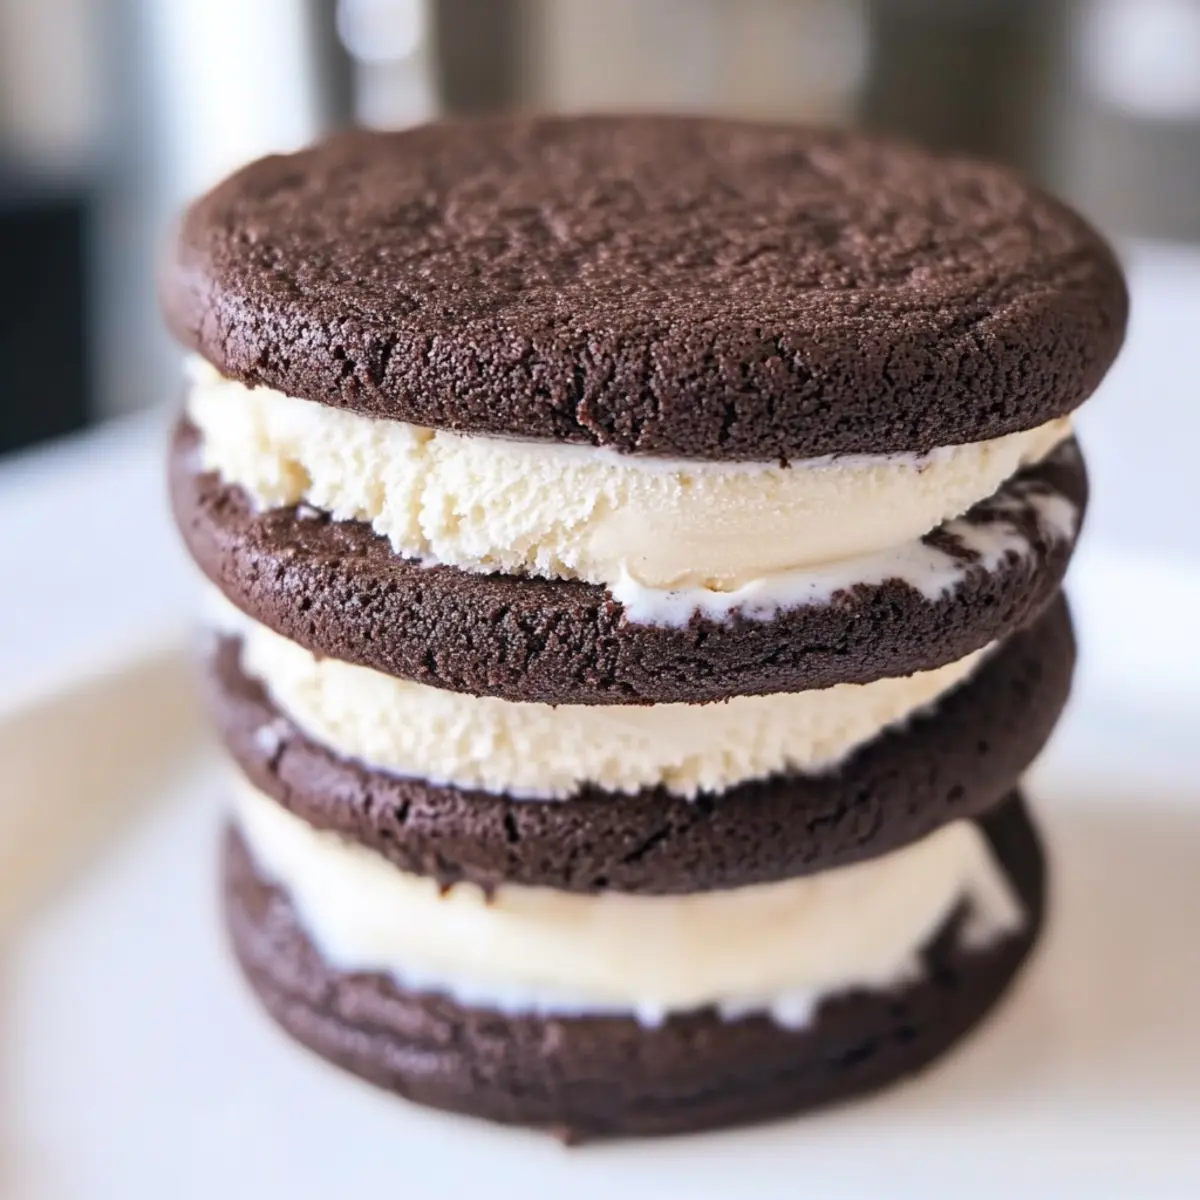
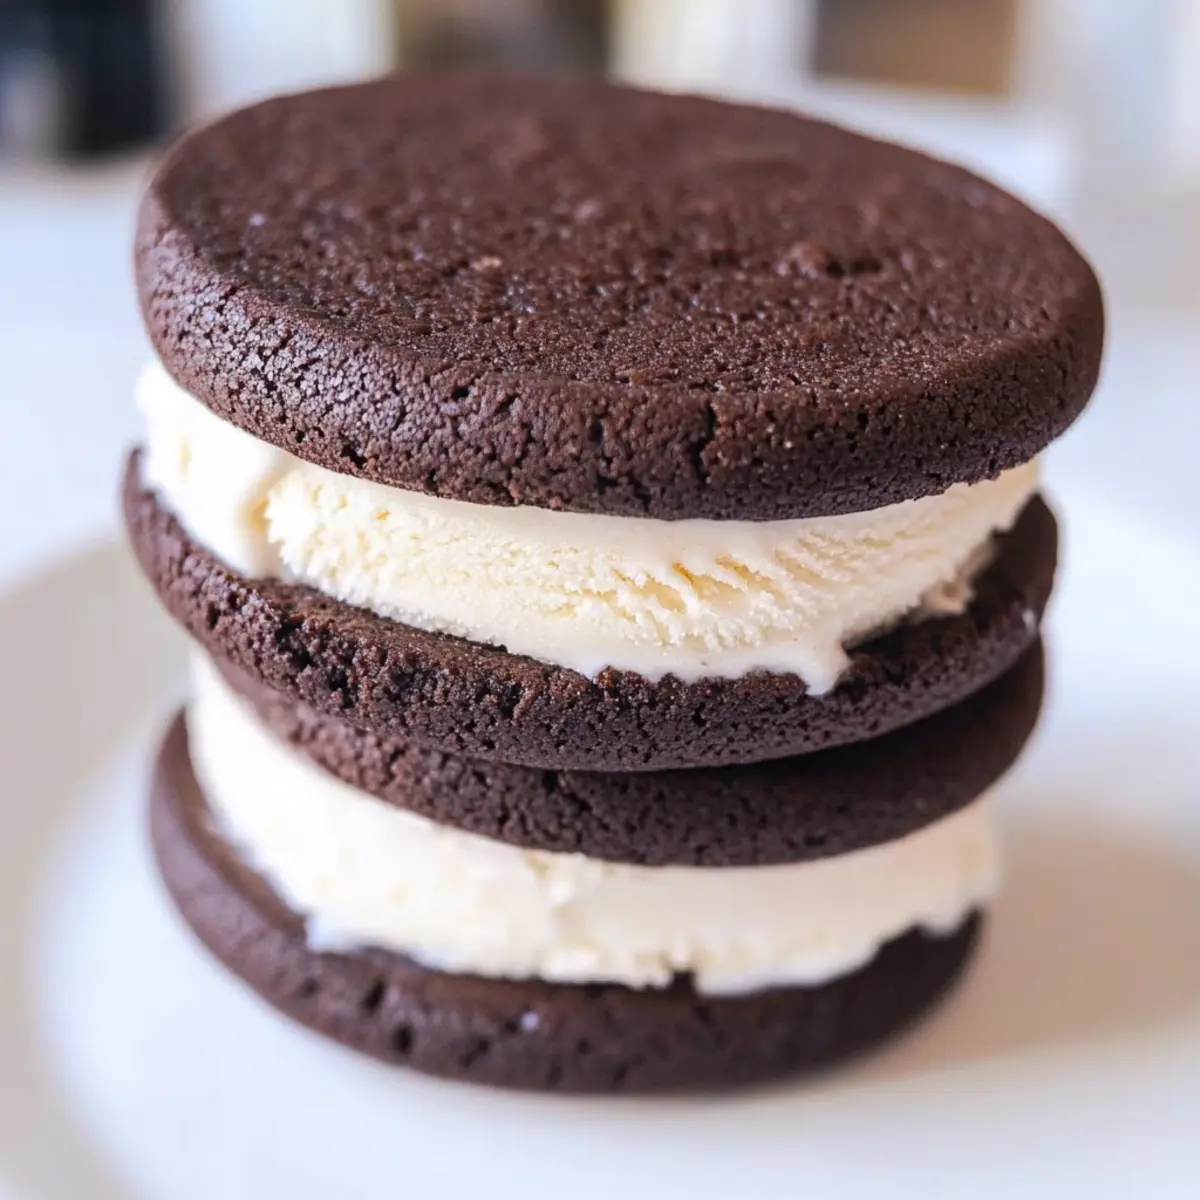
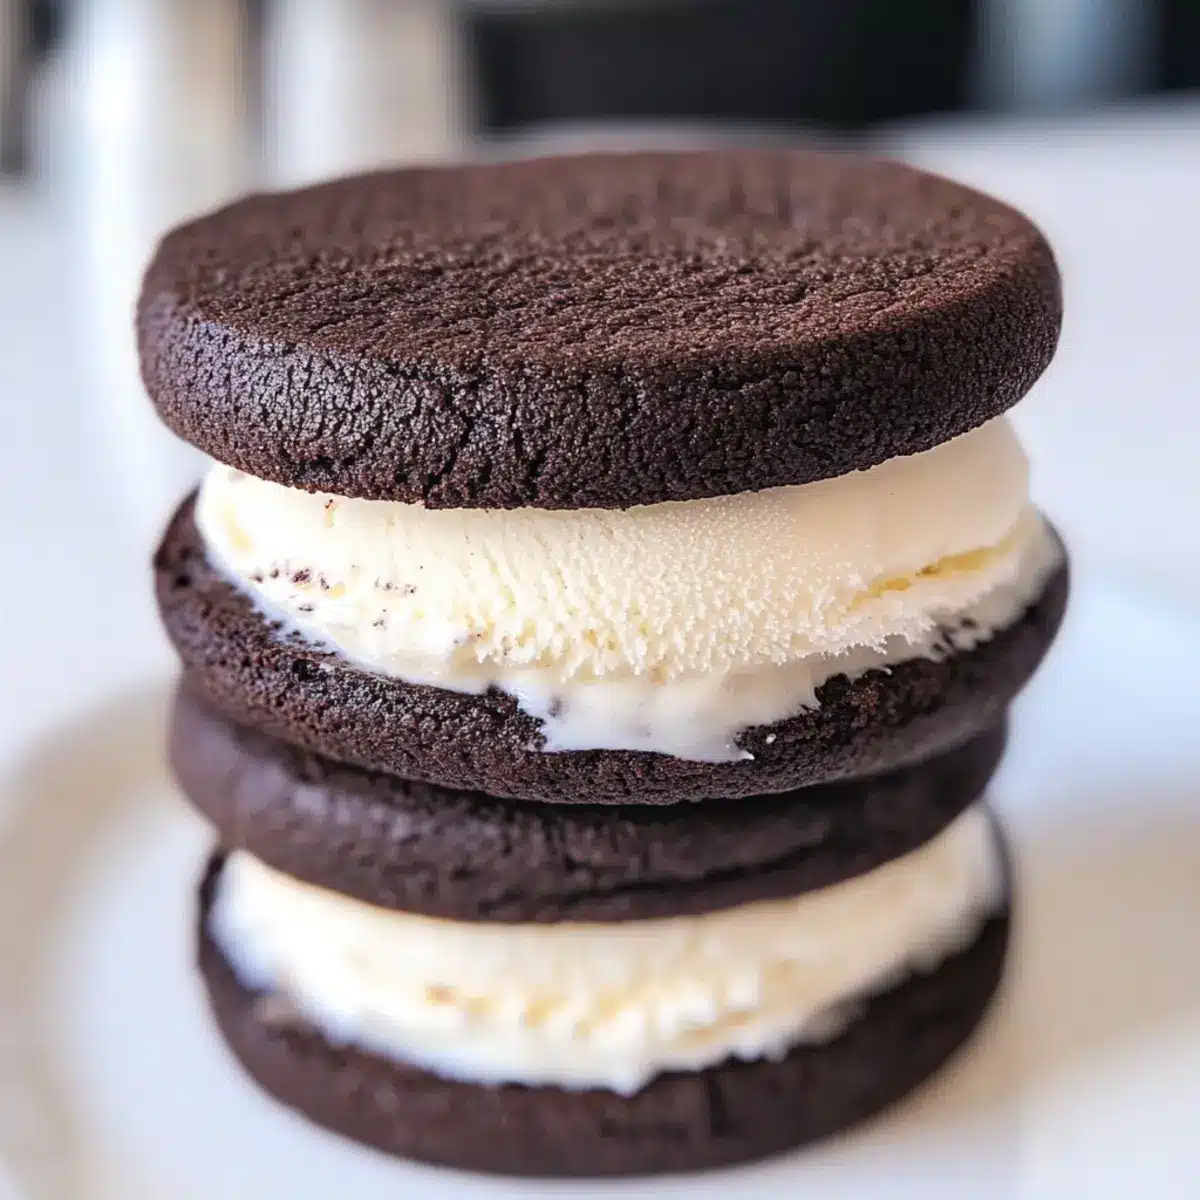
As I watched the sun dip below the horizon on a warm summer evening, the irresistible allure of homemade ice cream sandwiches tugged at my heart. There’s something magical about the way soft, chocolatey cookies hug your favorite ice cream flavors, turning a simple dessert into a nostalgic treat that brings smiles all around. These Homemade Ice Cream Sandwiches are not just easy to make, but they also offer endless opportunities for customization—perfect for a family gathering or a cozy night in. You can mix and match cookie types and ice cream flavors to suit any palate, transforming a classic dessert into your own masterpiece. So, why settle for store-bought when you can create your own delicious version? Ready to dive into the fun of crafting your very own ice cream sandwiches?
Why make homemade ice cream sandwiches?
Endless Customization: Choose your favorite cookie and ice cream flavors to create a unique treat tailored just for you.
Family Fun: These sandwiches are perfect for involving kids in the kitchen, making delicious memories together.
Quick Assembly: In just a couple of hours, you can bring a delightful dessert to life without hassle.
Gourmet Touch: Elevate a classic dessert with gourmet ingredients for a treat that impresses at any gathering.
Nostalgic Appeal: Relish in the joy reminiscent of childhood summer days, indulging in these delightful bites.
Why stop at just ice cream sandwiches? Pair them with our Street Corn Cucumber Salad for a fabulous summer feast!
Homemade Ice Cream Sandwiches Ingredients
• Get ready to create your delicious homemade ice cream sandwiches with these key ingredients!
For the Cookies
- Salted Butter (¾ cup) – Adds richness and moisture; you can swap it with unsalted butter and add a pinch of salt.
- Sugar (1 cup) – Provides sweetness and structure; no alternatives needed here.
- Large Egg (1) – Essential for binding; ensures a cohesive and chewy cookie base.
- Vanilla Extract (1 teaspoon) – Enhances flavor depth; opt for pure vanilla for the best results.
- All-Purpose Flour (1 ½ cups) – Forms the structure of the cookies; you may try gluten-free flour for a twist.
- Unsweetened Cocoa Powder (¾ cup) – Imparts rich chocolate flavor; choose high-quality cocoa for optimal taste.
- Baking Powder (1 teaspoon) – Helps cookies rise nicely; stick with this for the best texture.
For the Ice Cream Filling
- Ice Cream (2 containers, 16 oz each) – Choose your favorite flavors; this is where the customization magic happens!
Optional Toppings
- Sprinkles, Nuts, or Crushed Cookies – Roll the edges for added fun and flavor; these toppings can elevate your homemade ice cream sandwiches beautifully.
Step‑by‑Step Instructions for Homemade Ice Cream Sandwiches
Step 1: Preheat the Oven
Start by preheating your oven to 350°F (175°C) to ensure it’s hot and ready for baking those delectable cookies. This temperature will give your chocolate cookies the perfect rise while keeping them soft and chewy on the inside. Don’t forget to prepare your baking sheets by lining them with parchment paper, setting the stage for your future homemade ice cream sandwiches.
Step 2: Cream the Butter and Sugar
In a large mixing bowl, combine ¾ cup of softened salted butter with 1 cup of sugar. Use an electric mixer on medium speed to cream them together until the mixture is light and fluffy—this should take about 3 minutes. This step is crucial as it helps create a tender texture and delightful sweetness in your cookies.
Step 3: Incorporate the Wet Ingredients
Add 1 large egg and 1 teaspoon of pure vanilla extract into the creamed butter and sugar. Continue mixing on medium speed until everything is well combined and smooth. The addition of these wet ingredients will enhance the flavor of your cookies, giving them a richer taste—a true highlight for your homemade ice cream sandwiches.
Step 4: Mix the Dry Ingredients
Gradually add in 1½ cups of all-purpose flour, ¾ cup of unsweetened cocoa powder, and 1 teaspoon of baking powder to the wet mixture. Mix on low speed until fully incorporated, ensuring there are no lumps or dry pockets. The dough should come together beautifully, becoming a rich chocolatey base that will complement your ice cream perfectly.
Step 5: Roll Out the Dough
Divide your cookie dough in half to make it easier to handle. Place one half between two sheets of parchment paper and roll it out to about ¼ inch thick using a rolling pin. This thickness will ensure a nice chewy cookie that holds up well against the ice cream, creating a delightful homemade ice cream sandwich.
Step 6: Cut the Cookies
Using a round cookie cutter approximately 3½ inches in diameter, cut out cookie shapes from the rolled dough. Gently poke a few holes in each cookie with a fork to allow steam to escape during baking. You should aim for around 12 cookie rounds, as these will sandwich around your creamy ice cream filling.
Step 7: Bake the Cookies
Transfer the cut cookies onto the prepared baking sheet, leaving some space between each one. Place them in the preheated oven and bake for 10-11 minutes. You’ll know they’re ready when the tops lose their shine but remain a bit soft—this ensures they’ll be chewy and perfect for your homemade ice cream sandwiches.
Step 8: Cool the Cookies
Once baked, remove the cookies from the oven and allow them to cool on the baking sheet for about 5 minutes. Then, transfer them to a wire rack to cool completely. This cooling step is essential, as warm cookies will melt the ice cream before it can set into your delicious sandwiches.
Step 9: Prepare the Ice Cream
While waiting for the cookies to cool, take your favorite ice cream flavors (2 containers, 16 oz each) out of the freezer and let them soften for about 5-10 minutes. This will make it easier to slice the ice cream into sections, which will fit perfectly between your cooled chocolate cookies for those yummy homemade ice cream sandwiches.
Step 10: Assemble the Sandwiches
Once the ice cream is soft enough, slice it into sections and place one piece between two chocolate cookies. Press gently to create a sandwich, making sure the ice cream fills the gaps. If you’re feeling fancy, you can roll the edges in sprinkles, nuts, or crushed cookies for a delightful visual touch and added flavor in your homemade ice cream sandwiches.
Step 11: Freeze the Sandwiches
Wrap your assembled ice cream sandwiches tightly in plastic or parchment paper to prevent freezer burn. Place them in the freezer for at least 1-2 hours or until firm. This step is key to maintaining the perfect texture and ensures that your sandwiches are ready to be served cold and creamy when you’re ready for a taste of summer bliss!
Make Ahead Options
These Homemade Ice Cream Sandwiches are a fantastic choice for meal prep, allowing you to create a delightful treat without the last-minute rush! You can prepare the chocolate cookies up to 3 days in advance; simply bake and cool them completely before storing them in an airtight container at room temperature to keep them soft. When you’re ready to assemble, just slice your favorite ice cream (which can be at room temperature for about 5-10 minutes) and fill your cookies. After rolling the edges in toppings if desired, wrap the sandwiches tightly in plastic wrap and freeze for at least 1-2 hours. This way, you’ll have delicious, homemade ice cream sandwiches on hand, ready to serve and enjoy at a moment’s notice!
How to Store and Freeze Homemade Ice Cream Sandwiches
Fridge: Keep homemade ice cream sandwiches wrapped tightly in plastic or parchment paper, and they can be stored in the fridge for up to 1 day. This helps retain freshness but may soften the cookies slightly.
Freezer: For longer storage, place your wrapped ice cream sandwiches in the freezer for up to 2 weeks. Use airtight containers to prevent freezer burn and maintain texture.
Reheating: For the best experience, serve the sandwiches straight from the freezer. If softened, leave them at room temperature for a few minutes to enjoy the creamy delight without losing the cookie’s structure.
What to Serve with Homemade Ice Cream Sandwiches
You’ve created the perfect summer treat, now let’s build a delightful meal around those irresistible sandwiches!
-
Fresh Fruit Salad: A medley of seasonal fruits adds a refreshing touch, balancing the sweetness of the ice cream sandwiches.
-
Grilled Corn on the Cob: The smoky, charred flavor pairs wonderfully with the rich ice cream, enhancing your outdoor dining experience.
-
Cold Brew Coffee: A chilled coffee drink complements the dessert while providing a satisfying caffeine kick, perfect for lazy afternoons.
-
Chocolate Chip Cookies: Why not double the joy? Serve extra cookies alongside for those who can’t get enough of the cookie crunch!
-
Mint Chocolate Chip Ice Cream: For a burst of flavor, the minty freshness adds a delightful contrast that perfectly complements your homemade creations.
-
S’mores Platter: Recreate a campfire classic with graham crackers, marshmallows, and chocolate, inviting everyone to indulge in more sweet treats.
Layer these options with your homemade ice cream sandwiches for a memorable feast that tantalizes the senses!
Expert Tips for Homemade Ice Cream Sandwiches
- Don’t Overbake: Keep an eye on your cookies; they should be soft and chewy. Overbaking can lead to hard cookies that won’t hold the ice cream well.
- Softened Ice Cream: Let ice cream sit at room temperature for 5-10 minutes for easy slicing. This ensures a smooth spread between your cookies in homemade ice cream sandwiches.
- Use Quality Ingredients: Opt for high-quality cocoa and ice cream. The richer the ingredients, the more delightful your sandwiches will be!
- Experiment with Flavors: Don’t hesitate to mix and match cookie types and ice cream flavors to make your sandwiches exciting and memorable.
- Storage Tip: Wrap any extras tightly in parchment and place them in an airtight container to maintain freshness. Enjoy your homemade ice cream sandwiches for longer!
Homemade Ice Cream Sandwiches Variations
Get ready to let your creativity flow as you customize your homemade ice cream sandwiches into something uniquely yours!
-
Flavor Boost: Choose unique ice cream flavors like pistachio or salted caramel for a gourmet twist that surprises your taste buds.
-
Nutty Crunch: Incorporate crushed nuts into the cookie dough for added texture and a delicious crunch throughout each bite.
-
Alternative Sweeteners: Swap sugar with coconut sugar or maple syrup for a deliciously different flavor without compromising sweetness.
-
Fruit Sensation: Add crushed berries or banana slices to the ice cream layer for a refreshing fruity burst in each homemade sandwich.
-
Dairy-Free Delight: Use coconut or almond ice cream and dairy-free butter for a delightful vegan version that everyone can enjoy.
-
Spicy Kick: Add a pinch of chili powder or cayenne to the cookie dough for a surprising spicy note that complements the chocolate perfectly.
-
Layered Delight: Create an ice cream layer with swirl effects by mixing two flavors together. It not only tastes great but looks fantastic.
Why stop there? Serve these delightful treats alongside our delicious Coconut Chicken Rice Bowl for the ultimate summer feast!
Homemade Ice Cream Sandwiches Recipe FAQs
What kind of cookies should I use for homemade ice cream sandwiches?
Absolutely! While chocolate cookies are a classic choice, feel free to get creative. Oatmeal, peanut butter, or even sugar cookies can work wonderfully. Just ensure they hold up to the ice cream without becoming too soft!
How should I store homemade ice cream sandwiches?
To maintain freshness, wrap your sandwiches tightly in plastic or parchment paper and store them in the freezer for up to 2 weeks. This method prevents freezer burn and keeps your sandwiches deliciously creamy.
Can I freeze the cookie dough for my homemade ice cream sandwiches?
Yes, you can freeze the cookie dough! After mixing, wrap it tightly in plastic wrap and store it in an airtight container. It will last in the freezer for up to 3 months. When ready to bake, simply thaw in the refrigerator overnight and roll out as directed!
What happens if my cookies turn out too hard?
If you find your cookies are too hard, it might be because they were overbaked. Keep an eye on them as they bake; they should retain a slightly soft center. If they do turn out hard, you can try reviving them by placing them in a container with a slice of bread overnight—this helps them absorb moisture.
Is there a dairy-free option for the ice cream filling?
Very! Look for dairy-free ice cream alternatives made from almond, coconut, or cashew milk. They provide a deliciously creamy texture and can cater to those with lactose intolerance or a dairy allergy. Just ensure your chosen ice cream is firm enough to hold up between the cookies!
How can I customize my homemade ice cream sandwiches?
The more the merrier! You can switch ice cream flavors, try different cookie bases, and even roll the edges in toppings like sprinkles or crushed cookies. Get creative and make these sandwiches a true explosion of flavors tailored to your liking!
Homemade Ice Cream Sandwiches: Your New Favorite Summer Treat
Ingredients
Equipment
Method
- Preheat your oven to 350°F (175°C) and prepare your baking sheets with parchment paper.
- In a large mixing bowl, cream together the salted butter and sugar until light and fluffy, about 3 minutes.
- Add the egg and vanilla extract, mixing until well combined and smooth.
- Gradually mix in the flour, cocoa powder, and baking powder until fully incorporated.
- Roll out the cookie dough between parchment paper to about ¼ inch thick.
- Cut out cookie shapes using a round cookie cutter and poke holes in each.
- Place the cookies on the prepared baking sheet and bake for 10-11 minutes.
- Cool the cookies on the baking sheet for 5 minutes, then transfer to a wire rack to cool completely.
- Soften the ice cream for 5-10 minutes before slicing into sections.
- Assemble the sandwiches by placing a piece of ice cream between two cookies and pressing gently.
- Wrap assembled sandwiches tightly and freeze for at least 1-2 hours or until firm.
Leave a Reply