
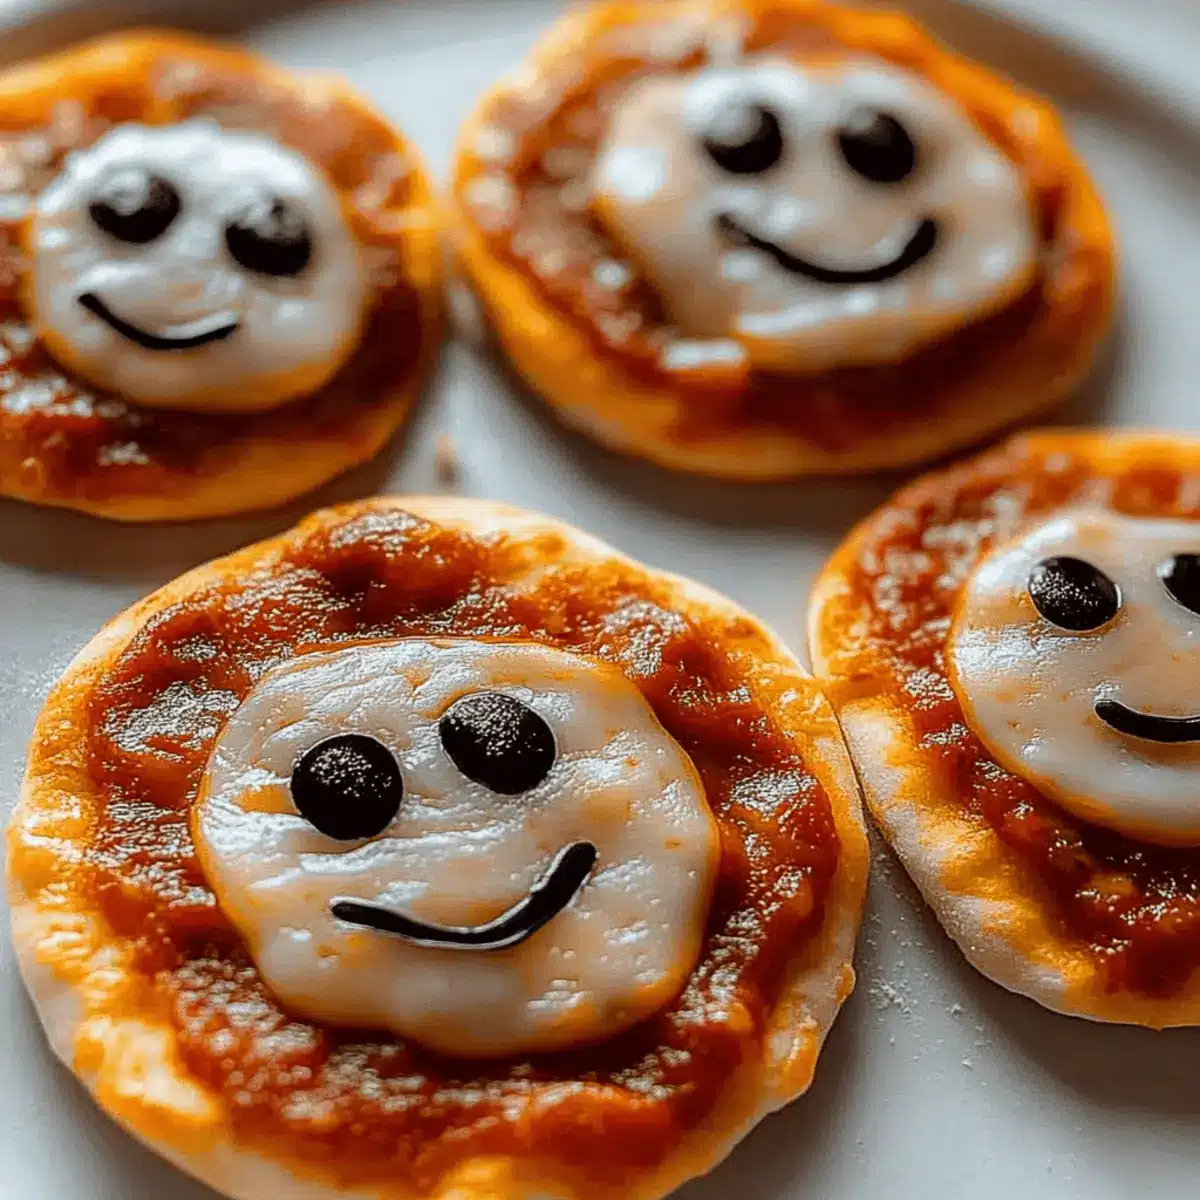
As I wandered through the aisles of colorful Halloween decorations, it struck me: what better way to capture the joy of this spooky season than with homemade DIY Mini Halloween Pizzas? With their cheesy goodness and vibrant toppings, these little delights not only make meal prep a breeze but also foster creativity in the kitchen. Kids and adults alike will enjoy customizing their pizzas with playful shapes and festive designs, transforming a quick snack into a fun family event. Plus, getting everyone involved in crafting these mini masterpieces turns dinner into quality time. So, why not gather your loved ones and unleash your culinary spirits? You won’t want to miss crafting these deliciously spooky treats!
Why are DIY Mini Halloween Pizzas a hit?
Fun and Festive: These customizable mini pizzas are the perfect way to celebrate Halloween, allowing creativity to flow with every topping choice.
Quick Prep: Ideal for busy evenings, they can be whipped up in no time, making them a go-to snack option when you’re in a rush.
Kid-Friendly: Kids will love getting involved in crafting their own spooky designs, creating memories while they assemble their Halloween treats. Encourage your little ones to help out, making mealtime a true family affair!
Deliciously Versatile: You can swap out traditional toppings for unique flavors, like using pesto or adding seasonal veggies—endless possibilities await! For more festive ideas, check out these Delightful Jack Fun treats.
Crowd-Pleaser: These mini pizzas are bound to impress, whether for a casual dinner or a spooky gathering, serving smiles to all your loved ones!
Easy Clean-Up: With minimal mess and straightforward assembly, you’ll have more time to enjoy the treats rather than stressing over the kitchen!
DIY Mini Halloween Pizzas Ingredients
Get ready to create some spooky fun!
For the Crust
- Mini Pizza Crusts – Choose store-bought for convenience or make your own for a personal touch.
For the Sauce
- Pizza Sauce – Provides moisture and flavor; classic tomato sauce or garlic butter are great choices.
For the Toppings
- Shredded Mozzarella Cheese – Melts beautifully for that gooey cheese topping everyone loves!
- Mozzarella Slices – Perfect for ghost shapes; let your creativity shine with spooky designs.
- Pepperoni Slices – Fun shapes enhance flavor and add that savory touch; cut out with cookie cutters!
- Black Olives – Great for spooky eyeballs on your pizza; adds texture and a briny flavor.
- Orange Bell Pepper – Sweet crunch for Jack-o’-lantern features; brightens the festive look of your pizzas!
Now that you’ve gathered all your ingredients, it’s time to unleash your creativity and make those DIY Mini Halloween Pizzas a hit!
Step‑by‑Step Instructions for DIY Mini Halloween Pizzas
Step 1: Preheat the Oven
Begin by preheating your oven to 400°F (200°C). While the oven warms up, line a baking sheet with parchment paper to prevent the mini Halloween pizzas from sticking and to ensure easy cleanup. This setup creates a fun environment for assembling your spooky creations, so grab your ingredients and get ready to craft!
Step 2: Spread the Sauce
Once your oven is preheated, take the mini pizza crusts and spread a generous layer of pizza sauce evenly over each one. Use a spatula or the back of a spoon to achieve a smooth surface, leaving a small border for the crust. This saucy base will not only provide flavor but also help hold your toppings in place, ensuring each pizza is delicious!
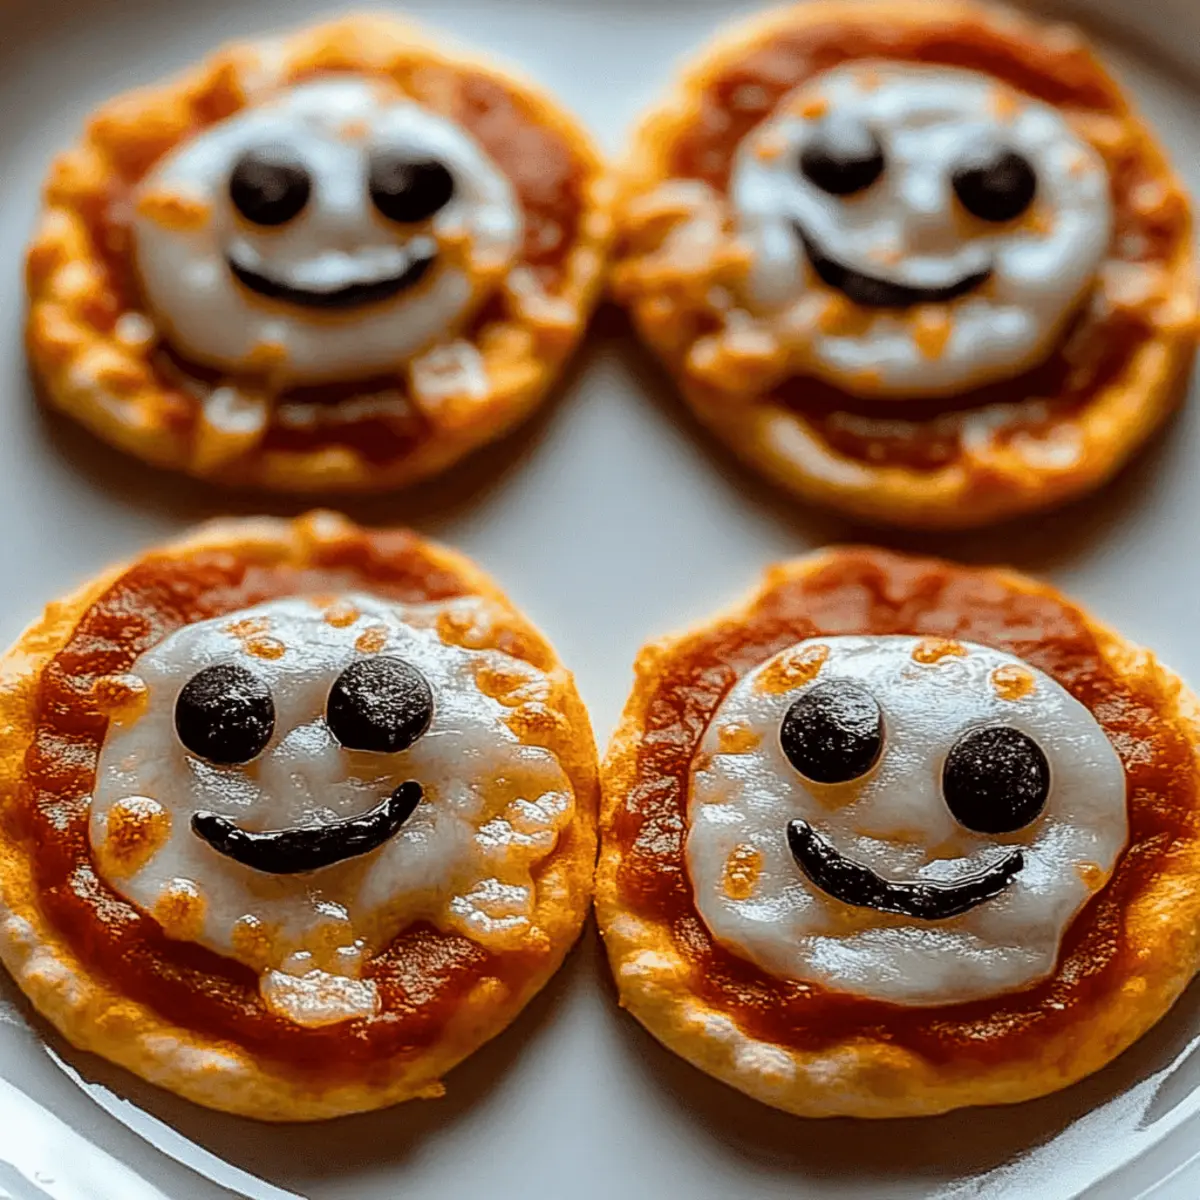
Step 3: Create Ghost Shapes
Unleash your creativity by using mozzarella slices to cut out spooky ghost shapes. Place these whimsical ghost figures on top of the sauce, arranging them to add charm and spookiness to your DIY Mini Halloween Pizzas. Make sure to leave space between them for other toppings, allowing for a colorful and festive appearance once baked!
Step 4: Form Mummy Designs
Next, take mozzarella strips and layer them over the sauce in crisscross patterns to create mummy designs. This fun technique allows for a unique texture and a creative twist on your pizzas. The layered cheese will melt beautifully, creating a warm and inviting look as they bake to perfection.
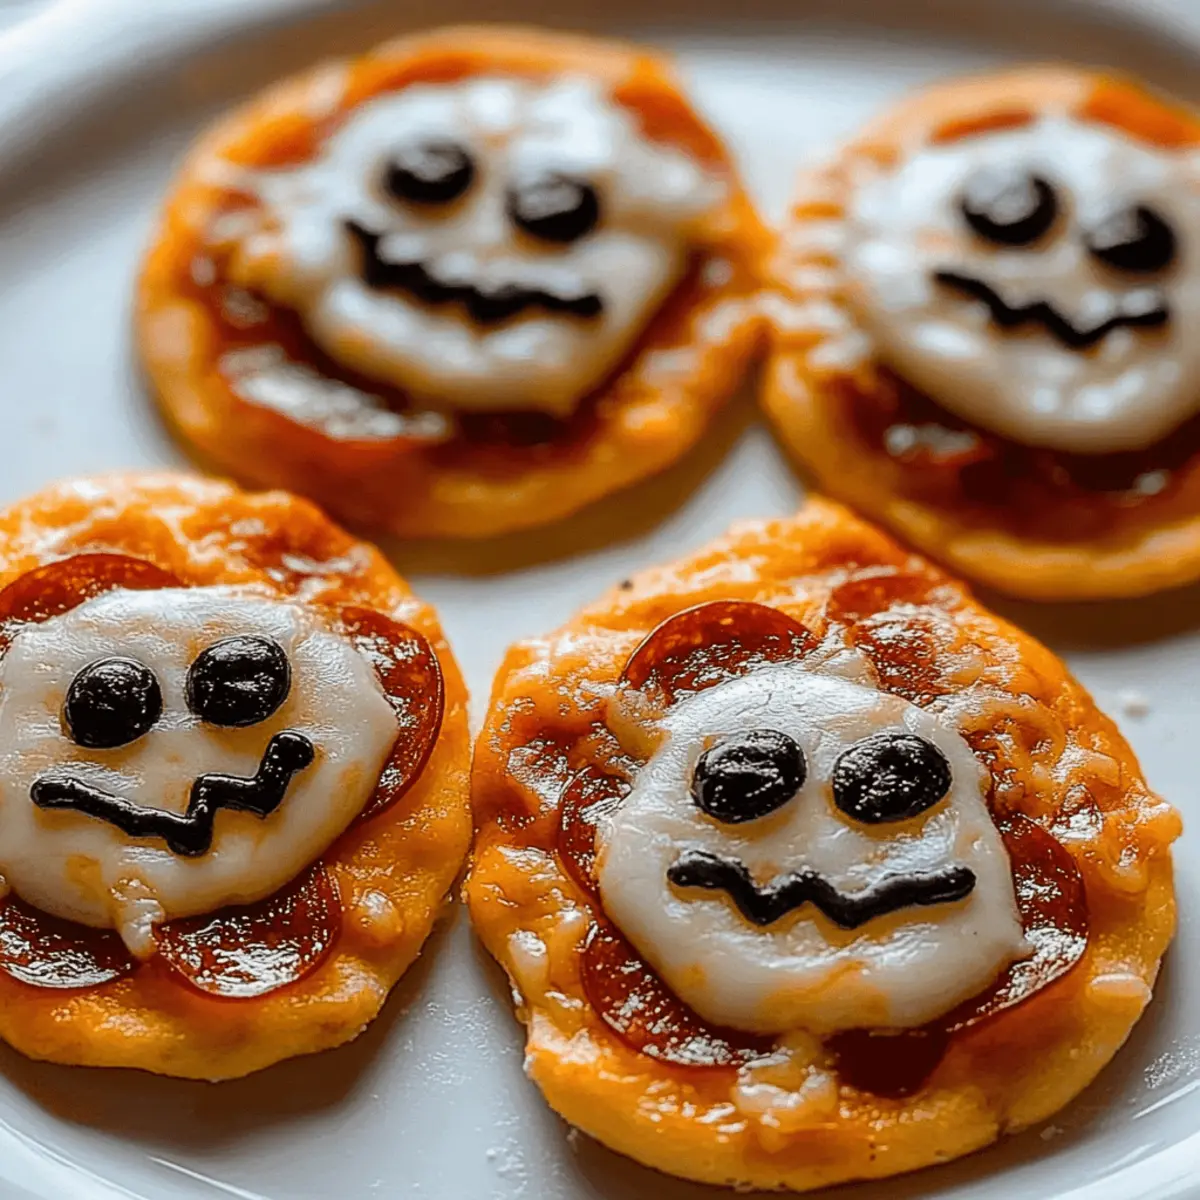
Step 5: Add Final Toppings
Sprinkle a generous amount of shredded mozzarella cheese over each pizza, and then get creative with your favorite toppings! Use bell pepper slices to craft Jack-o’-lantern faces and pepperoni shapes for extra flavor and fun. Layer your toppings to create an eye-catching Halloween masterpiece that will delight both kids and adults alike.
Step 6: Bake to Perfection
Now it’s time to bake your DIY Mini Halloween Pizzas! Place the baking sheet in the preheated oven and bake for 8-10 minutes, or until the cheese is melted and bubbly, and the crust is golden brown. Keep an eye on them to avoid overcooking, ensuring your spooky treats come out perfectly baked and ready for enjoyment.
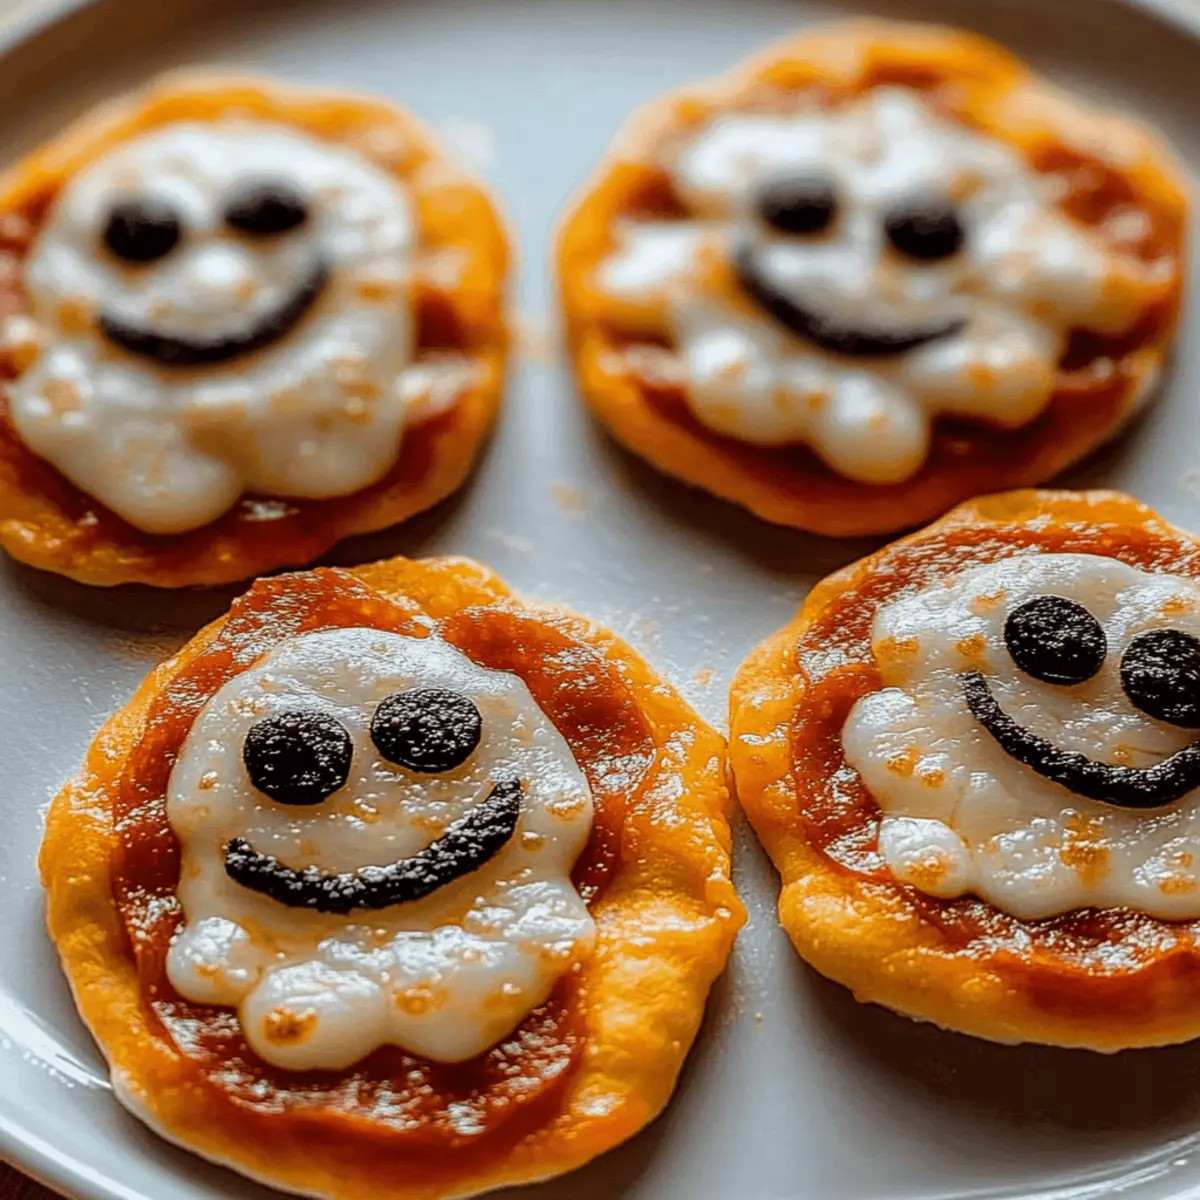
Step 7: Serve and Enjoy!
Once baked, remove the mini pizzas from the oven and let them cool for a minute before serving. The crispy edges and gooey cheese will make these DIY Mini Halloween Pizzas irresistible! Serve them warm, engaging your family in the excitement of Halloween with this delightful and festive meal that’s sure to spark joy and creativity.
How to Store and Freeze DIY Mini Halloween Pizzas
Fridge: Store leftover DIY Mini Halloween Pizzas in an airtight container for up to 3 days. This helps keep the crust from getting soggy while maintaining the vibrant flavors of your toppings.
Freezer: If you want to enjoy them later, wrap each mini pizza individually in plastic wrap and place them in a freezer-safe bag. They can be frozen for up to 2 months for a quick, festive snack!
Reheating: To reheat, place your mini pizzas in the oven at 350°F (175°C) for about 10 minutes, or until the cheese is bubbly and the crust is warm. You can microwave them in short intervals, but this may result in a less crispy crust.
Make-Ahead Tips: Pre-assemble your mini Halloween pizzas without baking and store them covered in the fridge for up to 24 hours. Just pop them in the oven when you’re ready for some spooky fun!
Expert Tips for DIY Mini Halloween Pizzas
-
Use Quality Crusts: Opt for either store-bought or homemade mini pizza crusts. A good crust forms the foundation of your DIY Mini Halloween Pizzas and affects their overall taste.
-
Control Sauce Amount: Be careful not to over-sauce. A thin layer allows the crust to crisp up while still providing flavor—too much sauce can lead to soggy pizzas.
-
Creative Toppings: Experiment with toppings like sliced vegetables or different cheeses. This not only adds flavor but also enhances the festive look of your DIY Mini Halloween Pizzas.
-
Position Toppings Wisely: When arranging toppings, leave some space between them to avoid overcrowding. This ensures even cooking and a nice melty effect.
-
Adjust Baking Time for Thickness: Monitor the baking time, especially if your crusts are thicker than average. Adjust as needed to achieve that perfect golden brown crust without burning.
-
Get Everyone Involved: Encourage family members to decorate their pizzas with toppings. This fun activity enhances the experience and creates lasting memories in the kitchen!
What to Serve with DIY Mini Halloween Pizzas?
Creating a spooky meal atmosphere is easy with these delightful mini pizzas as the centerpiece.
-
Crispy Green Salad: Fresh greens and crunchy veggies bring a vibrant contrast to the cheesy pizzas while keeping things light.
-
Pumpkin Soup: This warm and creamy dish fits the Halloween theme, offering comfort and a smooth texture to complement the pizzas.
-
Decorative Veggie Platter: Colorful, fall-themed vegetables like carrots and bell peppers not only add nutrition but also enhance the festive spirit.
-
Spooky Fruit Skewers: Combine seasonal fruits like grapes, oranges, and apples on skewers, adding a sweet touch that kids will love.
-
Chilled Apple Cider: This refreshing drink brings autumn flavors to the table, perfectly balancing the savory notes of the pizzas.
-
Ghostly Cupcakes: For dessert, serve themed cupcakes decorated with spooky faces. They maintain the festive vibe while satisfying everyone’s sweet tooth.
-
Mini Popcorn Bats: These fun snacks, tossed with seasonings, add a delightful crunch and are easy for little hands to snack on between bites.
DIY Mini Halloween Pizzas: Creative Twists
Get ready to unleash your imagination and customize your DIY Mini Halloween Pizzas with these fun variations!
-
Pesto Sauce: Swap classic tomato sauce for basil pesto for a flavorful and vibrant twist that kids will love.
-
Veggie-Loaded: Add seasonal veggies like spinach or mushrooms for a nutritious boost. It’s a sneaky way to get more greens on the plate!
-
Cheesy Delight: Layer on different cheeses, such as feta or cheddar, to create exciting flavors. Experiment and find your favorite cheesy combination!
-
Gluten-Free: Use gluten-free pizza crusts to accommodate dietary needs while still enjoying the festive fun. Everyone can join the spooky celebration!
-
Spicy Kick: Add sliced jalapeños or red pepper flakes for those who crave a bit of heat. It’s a great way to customize the flavor for spicy food lovers!
-
Dessert Twist: Transform leftovers into a sweet treat! Top with Nutella and sliced bananas for a delightful dessert pizza that will wow your family. You may also enjoy making some Delightful Jack Fun for a festive and sweet addition to your Halloween snack table.
-
Artistic Touch: Use a variety of toppings to create fun designs, like spiders with black olives and pasta or cobwebs with mozzarella strings. Get creative and make each pizza a unique masterpiece!
-
Miniature Versions: Make bite-sized versions for party platters or snacks. These adorable mini pizzas are perfect for little hands and festive gatherings!
With these variations, your DIY Mini Halloween Pizzas will be a hit at any gathering, igniting creativity and deliciousness in every bite. Keep the spirit of Halloween alive while enjoying delightful homemade treats!
Make Ahead Options
Preparing your DIY Mini Halloween Pizzas ahead of time is a fantastic way to save precious minutes on busy evenings! You can make the mini pizza crusts and prepare the toppings (like cut-out mozzarella ghosts and bell pepper shapes) up to 24 hours in advance. Simply cover them tightly with plastic wrap and refrigerate. When it’s time to bake, lay the assembled pizzas on a baking sheet, add a fresh layer of pizza sauce, and top with shredded mozzarella. Pop them in the oven and bake as directed for a delicious, fresh-from-the-oven experience that is just as delightful as if you had made them that day!
DIY Mini Halloween Pizzas Recipe FAQs
What kind of crust should I use for my DIY Mini Halloween Pizzas?
You can use store-bought mini pizza crusts for convenience or make your own for a personalized touch. If you opt for homemade, ensure they’re pre-baked for a crispier texture when you bake your Halloween creations.
How should I store leftover DIY Mini Halloween Pizzas?
Store any leftovers in an airtight container and keep them in the fridge. They’ll stay fresh for up to 3 days. If you want to keep them longer, consider freezing them!
Can I freeze DIY Mini Halloween Pizzas?
Absolutely! Individually wrap each mini pizza in plastic wrap and place them in a freezer-safe bag. They can be frozen for up to 2 months. When you’re ready to enjoy them, just bake from frozen or thaw them first in the fridge.
How do I reheat my DIY Mini Halloween Pizzas?
To reheat, place your mini pizzas in the oven at 350°F (175°C) for about 10 minutes, or until the cheese is melted and bubbly. If you prefer to use a microwave, do so in short intervals on low power, but keep in mind this may lead to a less crispy crust.
Are there any dietary considerations for DIY Mini Halloween Pizzas?
Yes! If you’re accommodating dietary restrictions, consider using gluten-free pizza crusts or dairy-free cheese alternatives. Also, be cautious with toppings like pepperoni if you’re serving to kids or guests with allergies—always check ingredient labels!
What if I want to prepare the mini pizzas ahead of time?
You can pre-assemble your DIY Mini Halloween Pizzas without baking them and store them covered in the fridge for up to 24 hours. This makes it easy to pop them in the oven when you’re ready, maximizing your family fun while minimizing mess on the day of your spooky gathering!
DIY Mini Halloween Pizzas for Spooky Fun and Family Smiles
Ingredients
Equipment
Method
- Preheat your oven to 400°F (200°C) and line a baking sheet with parchment paper.
- Spread a generous layer of pizza sauce over each mini pizza crust, leaving a small border.
- Use mozzarella slices to cut out spooky ghost shapes and place them on top of the sauce.
- Layer mozzarella strips in crisscross patterns to create mummy designs.
- Sprinkle shredded mozzarella cheese and add other toppings to create spooky designs.
- Place the baking sheet in the oven and bake for 8-10 minutes until cheese is melted and crust is golden.
- Remove from oven, let cool slightly, and serve warm.
Leave a Reply