
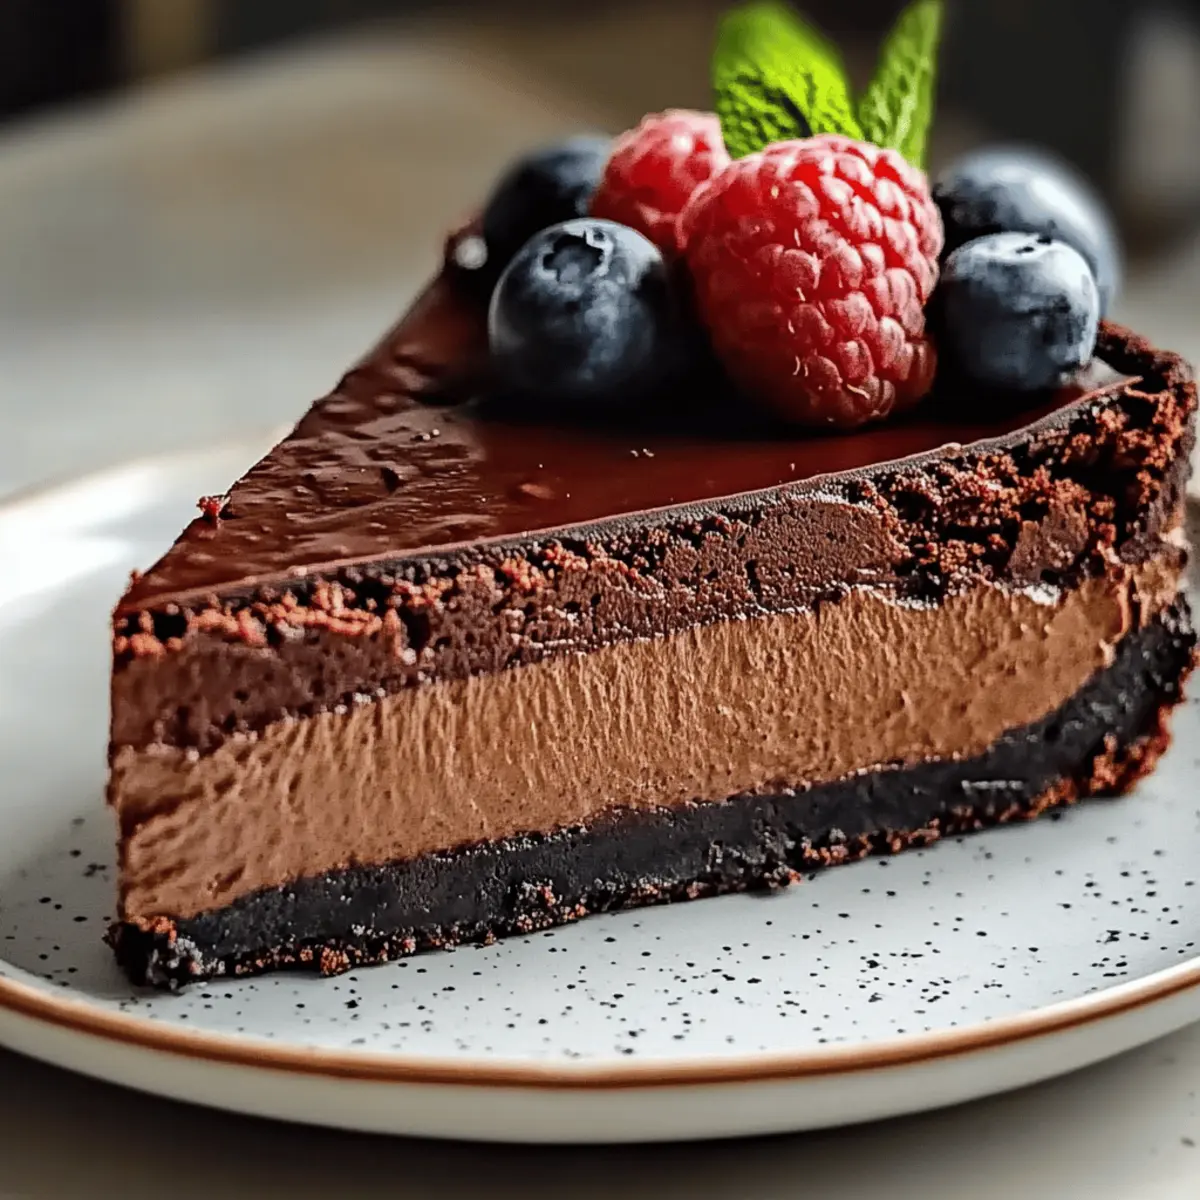
As I stood in my kitchen, the scent of melting chocolate wafted through the air, mingling with the excitement of creating something extraordinary. Enter the Chocolate San Sebastian Cheesecake, a delightful twist on the classic Basque dessert that offers an indulgent escape for any chocolate lover. This crustless marvel features a beautifully caramelized top that adds a rustic charm and a luxurious, creamy interior that simply melts in your mouth. Whether you need a quick dessert for a weeknight dinner or a show-stopping centerpiece for a gathering, this cheesecake is a dream come true. Plus, it’s effortlessly gluten-free and requires just a handful of simple ingredients, making it both accessible and rewarding. Curious about how to whip up this rich Spanish delight? Let’s dive into the recipe that will have your friends and family raving!
Why is this cheesecake so irresistible?
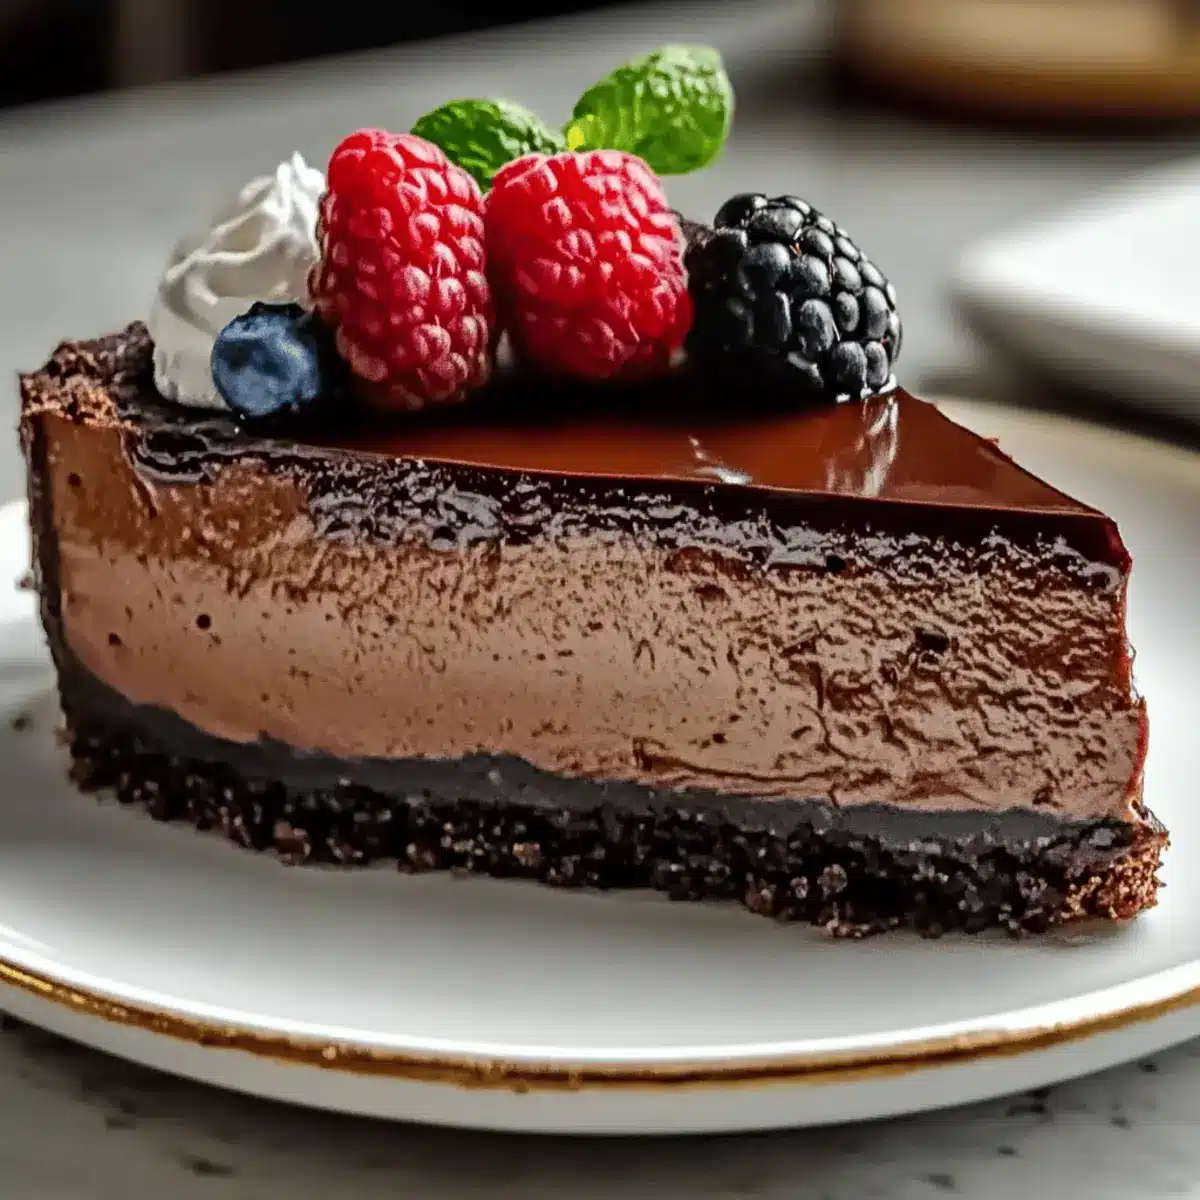
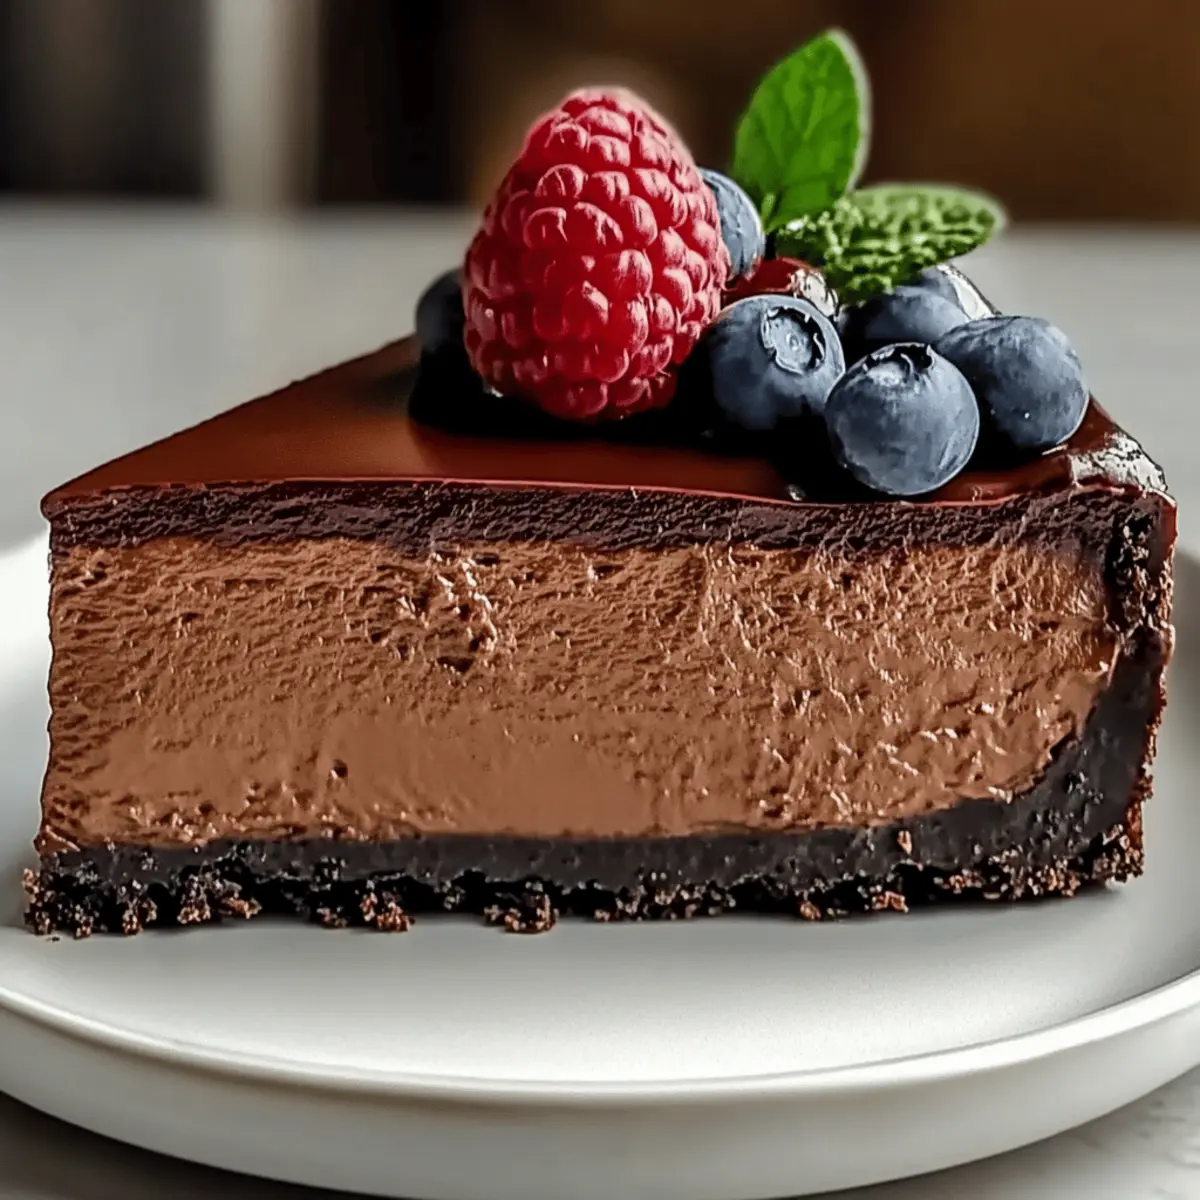
Decadent Delight: The Chocolate San Sebastian cheesecake boasts an indulgent, creamy texture that chocolate lovers crave.
Gluten-Free Wonders: With no crust, this cheesecake is a naturally gluten-free treat, making it a hit for various dietary preferences.
Simplicity: Made with just a few basic ingredients, it’s an accessible recipe even for novice bakers.
Versatile Flavors: Consider adding a swirl of raspberry jam or a dash of espresso powder for a unique twist—let your creativity shine!
Quick Preparation: In just over an hour, you can have a stunning dessert ready to wow your guests. If you’re craving more creative delights, check out Indulge Raspberry Chocolate or the rich flavors of Velvet Strawberry Cheesecake.
Impressive Presentation: The beautifully burnt top adds a rustic charm that’s sure to be a talking point at any gathering.
Chocolate San Sebastian Cheesecake Ingredients
• Curious about the rich ingredients you’ll need? Here’s what it takes to create this chocolate sensation!
For the Cheesecake Base
- Cream Cheese – Ensures a smooth and creamy texture; let it come to room temperature for easier mixing.
- Granulated Sugar – Balances the rich chocolate flavor; coconut sugar is a great substitute for a lower glycemic index.
- Eggs – Vital for structure and creaminess; large eggs yield the best results in this recipe.
- Semi-sweet/Dark Chocolate (60–70% cocoa) – Provides deep chocolate flavor; avoid chocolate chips for a smoother finish.
- Vanilla Extract – Enhances flavor; choose pure vanilla extract for a richer taste.
- Salt – A pinch enhances sweetness and balance; sea salt or kosher salt are perfect choices.
For Preparation
- Parchment Paper – Essential for easy removal and prevents sticking, making your serving experience a breeze.
Now that you have the Chocolate San Sebastian cheesecake ingredients, you’re all set to make this luscious dessert that is sure to impress!
Step‑by‑Step Instructions for Chocolate San Sebastian Cheesecake
Step 1: Prep the Pan
Start by preheating your oven to 400°F (200°C). Line a 9-inch springform pan with parchment paper, ensuring the paper extends about an inch above the rim. This helps in easy removal later and gives the cheesecake its rustic look. Set the pan aside as you prepare the filling.
Step 2: Melt Chocolate
In a heatproof bowl, add your semi-sweet or dark chocolate. Create a double boiler by placing the bowl over simmering water, stirring gently until the chocolate is melted and smooth—this should take about 5-7 minutes. Once melted, allow the chocolate to cool slightly before combining it with other ingredients.
Step 3: Mix Ingredients
In a large mixing bowl, beat the room temperature cream cheese and granulated sugar together until smooth and creamy, about 3-4 minutes. Add the eggs one at a time, mixing well after each addition. Next, pour in the melted chocolate and vanilla extract, mixing until fully incorporated and the batter is silky.
Step 4: Bake the Cheesecake
Pour the Chocolate San Sebastian cheesecake batter into your prepared springform pan. Carefully place it in the preheated oven and bake for 40-45 minutes. You’ll know it’s done when the edges are set and the center has a slight jiggle—this is key for that creamy texture.
Step 5: Cool and Refrigerate
Once baked, remove the cheesecake from the oven and let it cool completely in the pan at room temperature for about an hour. After it has cooled, refrigerate for at least 4 hours, or ideally overnight, to allow the flavors to meld and the texture to firm up before serving.
How to Store and Freeze Chocolate San Sebastian Cheesecake
Fridge: Keep the cheesecake wrapped in plastic wrap or in an airtight container for up to 4 days. Chilling helps maintain its rich, creamy texture.
Freezer: For longer storage, slice the cheesecake and wrap each piece tightly in plastic wrap, then foil. It can be frozen for up to 3 months without losing its delicious flavor.
Thawing: When you’re ready to indulge, thaw the slices in the refrigerator overnight for best results. This method preserves the cheesecake’s delectable consistency.
Reheating: If you prefer it warm, let it sit at room temperature for about 15 minutes before enjoying.
Expert Tips for the Best Chocolate San Sebastian Cheesecake
- Room Temperature Ingredients: Make sure your cream cheese and eggs are at room temperature; this ensures a smooth batter without lumps.
- Mind the Baking Time: Avoid overbaking; the cheesecake should jiggle slightly in the center when done. It will firm up as it cools.
- Chocolate Quality Matters: Choose high-quality 60-70% cocoa chocolate for a rich flavor; avoid chocolate chips as they don’t melt as smoothly in this decadent cheesecake.
- Rustic Cracks: Embrace any cracks that form on top; they add character and rustic charm to your Chocolate San Sebastian cheesecake.
- Chill Before Serving: Refrigerate the cheesecake for several hours; chilling enhances the texture and flavor, giving you that perfect, melt-in-your-mouth experience.
What to Serve with Chocolate San Sebastian Cheesecake
Indulging in a slice of this luxurious cheesecake is just the beginning—let’s explore how to create a complete dining experience that tantalizes all the senses.
- Fresh Berries: The tartness of strawberries or raspberries contrasts beautifully with the rich cheesecake, adding a refreshing burst of flavor.
- Crème Fraîche: A dollop of this creamy topping balances the sweetness and enriches every bite, creating a lovely textural contrast.
- Espresso: A shot of strong coffee enhances the chocolate notes of the cheesecake, making for an exquisite dessert pairing.
- Raspberry Coulis: Drizzling this sweet-tart sauce over each slice elevates its presentation while adding a delightful fruity layer to each bite.
For a complete experience, consider pairing it with something light and bubbly.
- Sparkling Water: The effervescence cleanses the palate, letting each bite of the decadent cheesecake shine through without overwhelming the senses.
- Chocolate Ganache Drizzle: A rich chocolate sauce brings an extra layer of indulgence and visually pleases the eye when poured over the cheesecake.
- Salted Caramel Sauce: The sweet saltiness of caramel perfectly juxtaposes the cheesecake’s bittersweet flavors, creating a decadent flavor explosion.
Creating the perfect accompaniment to your Chocolate San Sebastian cheesecake can transform a simple dessert into an unforgettable experience!
Make Ahead Options
These Chocolate San Sebastian Cheesecakes are perfect for meal prep enthusiasts! You can prepare the cheesecake batter up to 24 hours in advance; simply combine the cream cheese, sugar, eggs, melted chocolate, and vanilla as instructed and store it in an airtight container in the fridge. The baked cheesecake itself can be refrigerated for up to 3 days before serving, allowing the flavors to deepen and the texture to set. To maintain its delightful quality, ensure it’s well-wrapped to prevent drying out. When you’re ready to serve, simply slice and let it rest at room temperature for 15 minutes for that luscious, creamy texture. With these make ahead options, you can enjoy a decadent dessert with minimal effort!
Chocolate San Sebastian Cheesecake Variations
Embrace your inner culinary artist and customize this decadent cheesecake to match your unique taste preferences!
- Mocha Twist: Add 1-2 teaspoons of espresso powder to the batter for a delightful coffee flavor that complements the chocolate.
- Citrus Brightness: Incorporate the zest of one orange into the batter, creating a refreshing contrast to the rich chocolate.
- Raspberry Swirl: Gently fold in a few tablespoons of raspberry jam before baking for a fruity surprise in each slice.
- Toffee Crunch: Mix in some toffee bits for a crunchy texture that contrasts beautifully with the creamy cheesecake.
- Nutty Addition: Sprinkle crushed hazelnuts or almonds on top before baking, adding a delightful crunch and nutty flavor.
- Gluten-Free Options: Since there’s no crust, ensure all ingredients, like the chocolate and extracts, are gluten-free for a worry-free dessert.
- Vegan Style: For a plant-based twist, substitute cream cheese with a vegan alternative and use flax eggs for a delightful, dairy-free treat.
- Spicy Heat: Add a pinch of cayenne pepper or cinnamon to the batter for a warm, spicy kick that enhances the chocolate’s richness.
Feel free to experiment, and if you’re looking for more delightful desserts, try the heavenly Indulge Raspberry Chocolate or dive into the scrumptious world of Velvet Strawberry Cheesecake!
Chocolate San Sebastian Cheesecake Recipe FAQs
How do I choose the best chocolate for this cheesecake?
Absolutely! For the richest and most decadent flavor, opt for high-quality semi-sweet or dark chocolate with a cocoa content between 60-70%. I highly recommend using couverture or baking bars over chocolate chips, as they melt smoothly and evenly without any graininess, ensuring a silky texture in your cheesecake.
How should I store my Chocolate San Sebastian cheesecake?
To maintain its creamy goodness, wrap the cheesecake tightly in plastic wrap or place it in an airtight container. It can be stored in the fridge for up to 4 days. This keeps it fresh and enjoyable, ready to be savored whenever a sweet craving strikes!
Can I freeze the Chocolate San Sebastian cheesecake?
Very! For longer storage, slice the cheesecake and wrap each piece tightly in plastic wrap, followed by foil. It can be frozen for up to 3 months. When you’re ready to enjoy, simply thaw the slices in the refrigerator overnight for the best taste and texture.
What if my cheesecake cracks during baking?
Don’t worry at all! Cracks can occur and are completely normal for this rustic dessert. They add character to your Chocolate San Sebastian cheesecake. If they’re particularly bothersome, consider covering them with a dollop of whipped cream or a sprinkle of cocoa powder when serving—no one will notice!
Is this cheesecake gluten-free?
Absolutely! The absence of a crust makes this Chocolate San Sebastian cheesecake naturally gluten-free. However, always check that your chocolate and other ingredients do not contain gluten if you’re serving individuals with allergies.
What are some ingredient substitutes for dietary restrictions?
Great question! You can substitute granulated sugar with coconut sugar for a lower glycemic index option. If you’re looking to reduce dairy, consider using a dairy-free cream cheese alternative, but be sure to check for the overall compatibility with the recipe. As for the eggs, using flaxseed meal mixed with water (1 tablespoon flaxseed meal + 2.5 tablespoons water = 1 egg) can work, but keep in mind it may alter the texture slightly.

Rich Chocolate San Sebastian Cheesecake That Will Wow You
Ingredients
Equipment
Method
- Preheat your oven to 400°F (200°C). Line a 9-inch springform pan with parchment paper, extending it above the rim.
- In a heatproof bowl, melt semi-sweet or dark chocolate using a double boiler. Stir until smooth.
- In a large mixing bowl, beat cream cheese and sugar until smooth. Add eggs one at a time, mixing well. Pour in melted chocolate and vanilla extract, mixing until incorporated.
- Pour the batter into the prepared springform pan and bake for 40-45 minutes, until the edges are set and the center slightly jiggles.
- Let the cheesecake cool in the pan for about an hour, then refrigerate for at least 4 hours or overnight.
Leave a Reply