
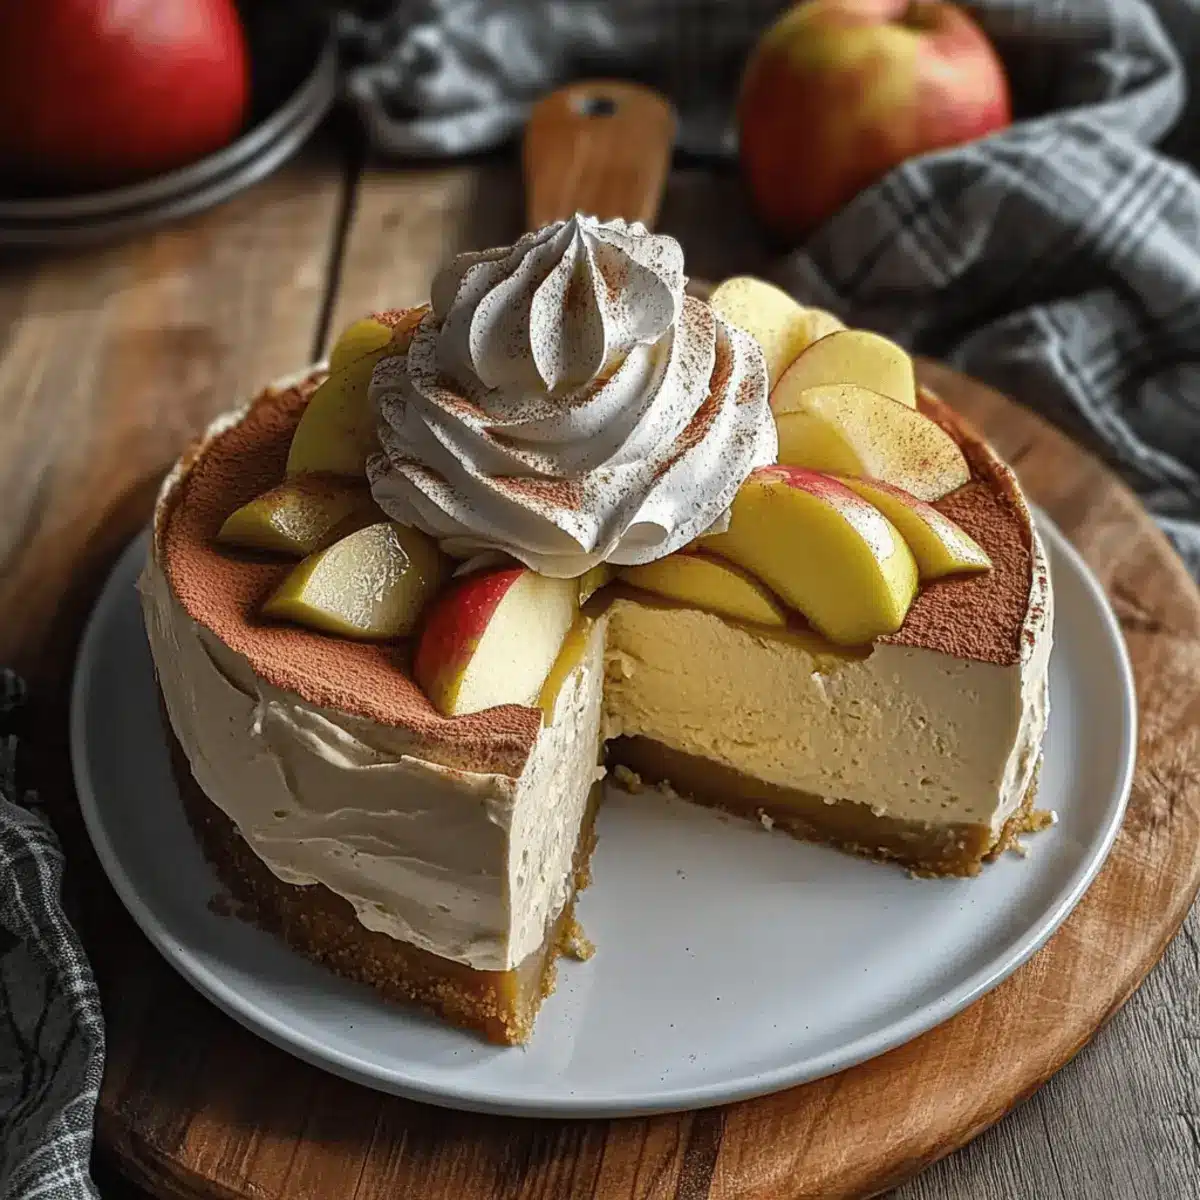
As the days grow shorter and the air turns crisp, my kitchen transforms into an inviting haven filled with the comforting aroma of fall. One delightful way to celebrate this seasonal shift is with my Creamy Apple Cider Cheesecake, a luscious dessert that highlights the essence of autumn. Featuring rich apple flavors enhanced by a hint of cinnamon, this recipe provides a refreshing alternative to the typical pumpkin pie. Not only is it an easy-to-make crowd-pleaser, but its velvety texture makes every bite an indulgent experience. Imagine delighting your guests with a dessert that’s both familiar and uniquely delicious. Are you ready to dive into this seasonal masterpiece that’s sure to impress?
Why Is This Cheesecake a Must-try?
Seasonal Delight: This cheesecake captures the essence of fall with its rich apple cider flavor, making it a perfect centerpiece for your autumn gatherings.
Unbelievably Creamy: Its velvety texture melts in your mouth, providing a delightful contrast to the warming spices.
Crowd-Pleasing Treat: Serve it at your next family gathering or dinner party, and watch it vanish in minutes!
Simple Preparation: With easy-to-follow steps, this recipe requires minimal effort, allowing you to focus on enjoying the moment.
Versatile Variations: Try topping it with apple cider caramel or a dollop of spiced whipped cream for an even more decadent experience! If you crave more apple inspirations, check out my delicious Apple Brownies Deliciously or the comforting Oatmeal Apple Breakfast.
Apple Cider Cheesecake Ingredients
For the Filling
• Fresh Apple Cider – Adds the signature apple flavor that embodies the essence of fall. Substitution: Honeycrisp cider is recommended for a more tart taste.
• Mulling Spices – Enhances the reduced cider’s flavor for a cozy aroma. Note: Optional; consider cloves or allspice for added warmth.
• Cream Cheese – Provides the creaminess and structure needed for the perfect cheesecake. Substitution: Use a firmer brand like Philadelphia, ensuring it’s at room temperature.
• Sugar (Brown) – Sweetens the cheesecake beautifully. Note: Light or dark brown sugar both work well.
• Salt (Fine Sea) – Balances flavors and enhances the overall taste. Substitution: Halve the amount if using table salt.
• Sour Cream – Contributes to the cheesecake’s creaminess, preventing it from becoming too dense. Note: Must be full fat for the best texture.
• Vanilla Extract – Adds depth and richness to the flavor profile. Note: Use pure extract for best results.
• Ground Cinnamon – Provides warmth and that authentic fall spice. Substitution: Other spices like nutmeg can be used if desired.
• Eggs – Binds the cheesecake and ensures it sets properly. Note: Ensure they are at room temperature for even mixing.
• All-Purpose Flour – Helps stabilize the cheesecake and achieve a firmer texture with each slice.
For the Crust
• Digestive Cookies – Creates a delightful, crisp base for the cheesecake. Substitution: Graham crackers work well too for a different flavor.
• Melted Butter – Binds the crumbs together and adds richness.
• Powdered Sugar – Sweetens the crust, balancing the flavors of the filling.
• Salt (Pinch) – Enhances the taste of the crust and offsets the sweetness.
Now that you’ve got your ingredients lined up, let’s dive into creating this irresistible Apple Cider Cheesecake!
Step‑by‑Step Instructions for Apple Cider Cheesecake
Step 1: Reduce the Cider
Pour 3 cups of fresh apple cider into a medium-sized pot and bring it to a boil over medium-high heat. Allow the cider to simmer for 30-45 minutes, stirring occasionally, until it has thickened to about 1/3 cup. You’ll know it’s ready when it coats the back of a spoon. Once reduced, set aside to cool.
Step 2: Preheat the Oven
Preheat your oven to 350°F (175°C). While your oven heats up, prepare your springform pan by greasing it thoroughly with butter or cooking spray, then line the bottom with parchment paper for easy removal later. This will help your Apple Cider Cheesecake release smoothly after baking.
Step 3: Prepare the Crust
In a food processor, grind digestive cookies into fine crumbs to serve as the base for your cheesecake. Transfer the crumbs to a mixing bowl, then combine them with melted butter, a pinch of salt, and powdered sugar. Mix until the crumbs are well-coated, then press this mixture firmly into the bottom and slightly up the sides of the pan. Bake for 10 minutes, then let it cool.
Step 4: Make the Filling
In a stand mixer, beat together the room temperature cream cheese and brown sugar on medium speed until smooth and creamy, about 2-3 minutes. Gradually add in the sour cream, reduced cider, vanilla extract, salt, ground cinnamon, and flour. Mix on low speed until combined, ensuring the mixture is free of lumps, for a perfectly creamy Apple Cider Cheesecake filling.
Step 5: Incorporate the Eggs
Add the eggs to the cream cheese mixture one at a time, mixing on low speed just until each egg is blended. Be careful not to overmix, as this can introduce too much air into the batter, which may lead to cracks. The filling should be smooth and well combined, ready to fill the crust.
Step 6: Assemble the Cheesecake
Pour the creamy filling into the cooled crust, smoothing the top with a spatula. To create a gentle steam environment while baking, place the springform pan inside a larger baking dish filled with hot water, ensuring the water reaches halfway up the sides of the pan. This water bath technique helps achieve a velvety texture in your Apple Cider Cheesecake.
Step 7: Bake the Cheesecake
Carefully transfer the larger baking dish to the preheated oven and bake for 80-90 minutes. You’ll know it’s done when the sides are set, but the center has a slight jiggle. Keep an eye on it to avoid overbaking, as this can affect the creaminess of your cheesecake.
Step 8: Cool Down
Once baked, turn off the oven and crack the door open slightly. Let the cheesecake cool in the oven for 30 minutes, which helps prevent cracks from sudden temperature changes. Afterward, remove it from the oven and cool on the counter for an additional hour before transferring it to the refrigerator to chill for at least 8 hours, or overnight if possible, to set completely.
Storage Tips for Apple Cider Cheesecake
Fridge: Store the cheesecake in an airtight container in the fridge for 3-4 days to maintain its creamy texture and delicious apple flavor.
Freezer: Slice the cheesecake into individual portions and wrap each slice tightly in plastic wrap; freeze for up to 2 months. Thaw in the fridge overnight before enjoying.
Reheating: If you prefer a warm dessert, gently reheat individual slices in the microwave for 10-15 seconds to enhance the creamy consistency of the Apple Cider Cheesecake.
Serving: For the best flavor, enjoy the cheesecake chilled or at room temperature; pair it with fresh apple slices or whipped cream for a delightful fall treat!
Apple Cider Cheesecake Variations
Feel free to let your creativity shine with these delightful twists on the classic recipe!
-
Graham Cracker Crust: Substitute graham crackers for digestive cookies for a different flavor profile. It’s a classic choice that pairs beautifully with the creamy filling.
-
Spiced Whipped Cream: Top with a light spiced whipped cream for added richness. Just whip cream with a pinch of cinnamon and a little powdered sugar — a perfect complement to each slice!
-
Gluten-Free Option: Use gluten-free cookies for the crust to make this dessert accessible for everyone. It doesn’t compromise on taste, allowing everyone to enjoy fall flavors together.
-
Nutty Crust: Add ground nuts (like walnuts or pecans) to the crust mixture for a delightful crunch and richer flavor. It provides a deliciously unexpected texture contrast!
-
Caramel Swirl: Create a marble effect by swirling in some caramel sauce before baking. The sweetness of the caramel enhances the apple flavor beautifully!
-
Vegan Version: Substitute dairy ingredients with plant-based alternatives, like cashew cream for cream cheese and flax eggs for regular eggs. This way, everyone can indulge in the season’s flavors.
-
Extra Spice: Boost the flavor by adding a hint of nutmeg or cardamom to the filling. It will elevate the dessert and give your cheesecake a unique twist.
-
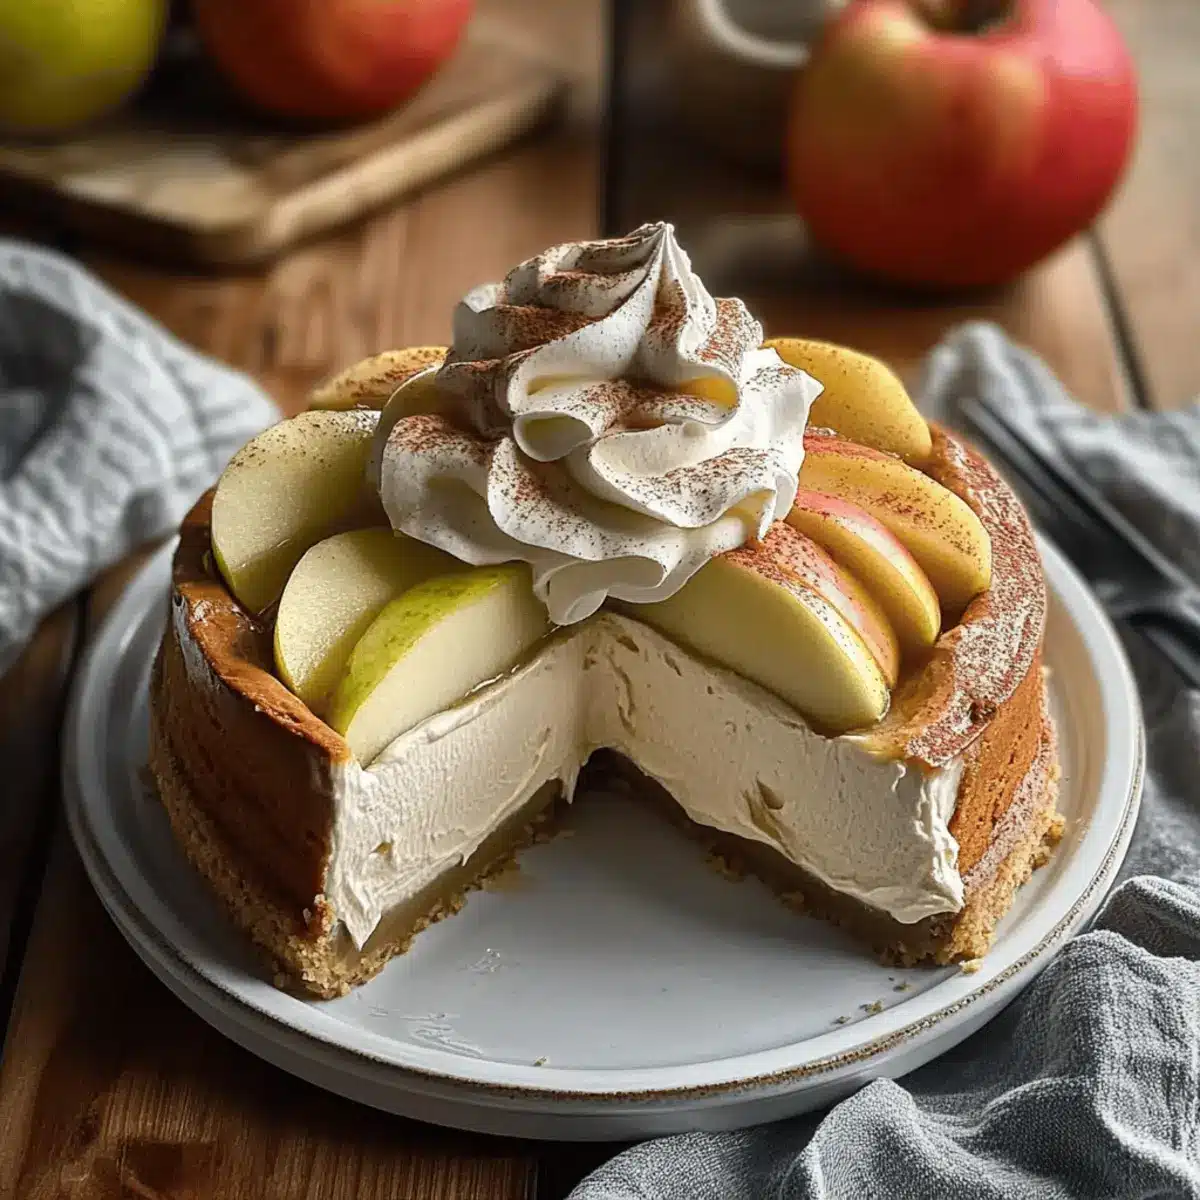
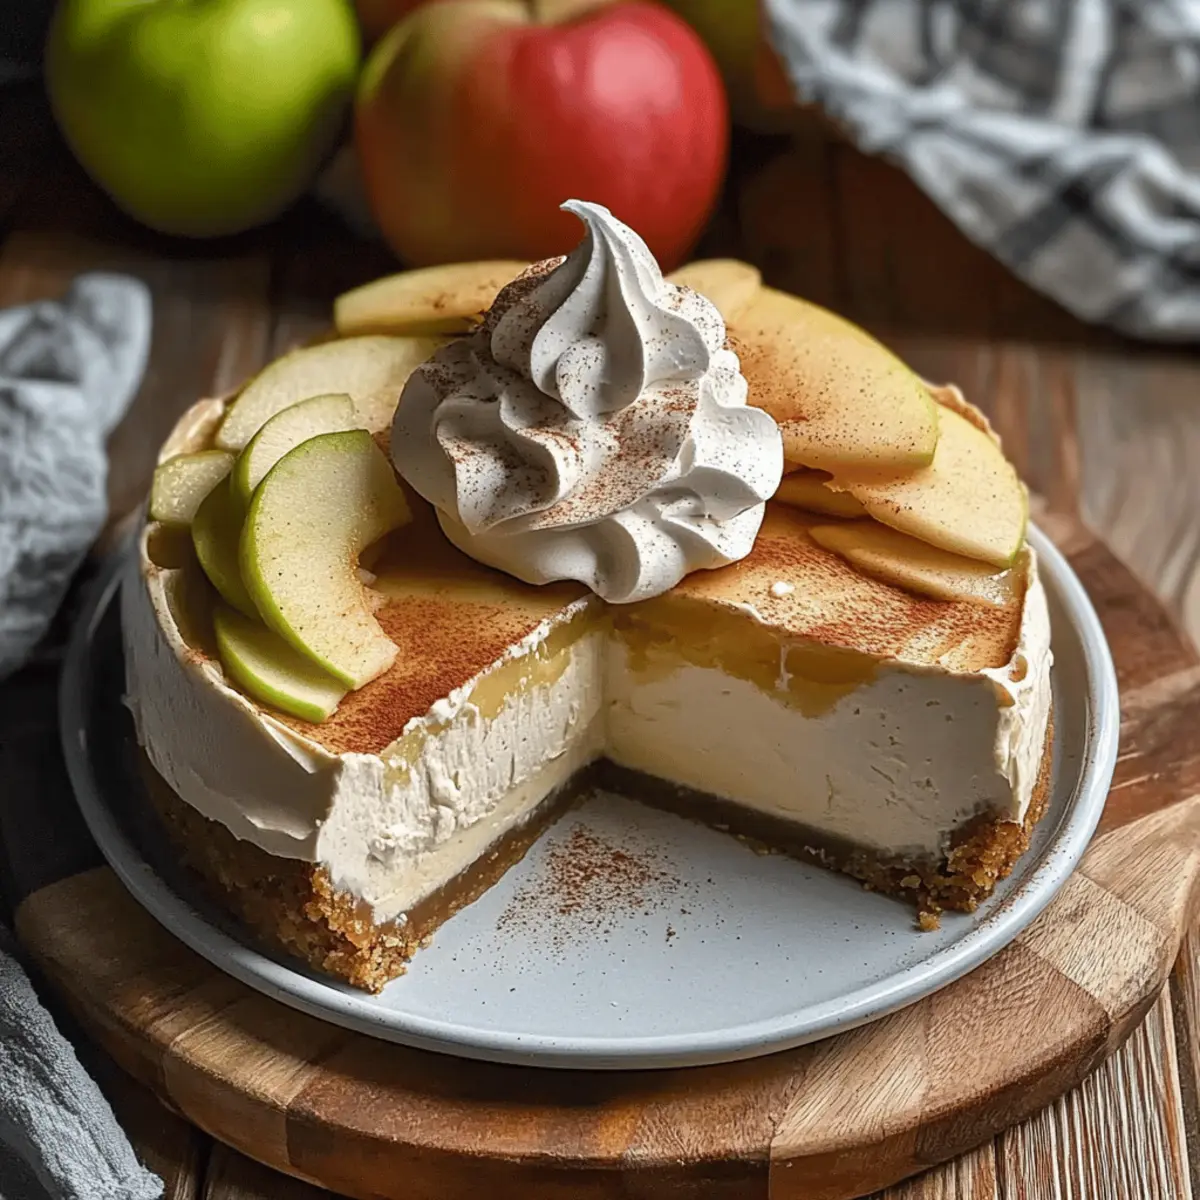
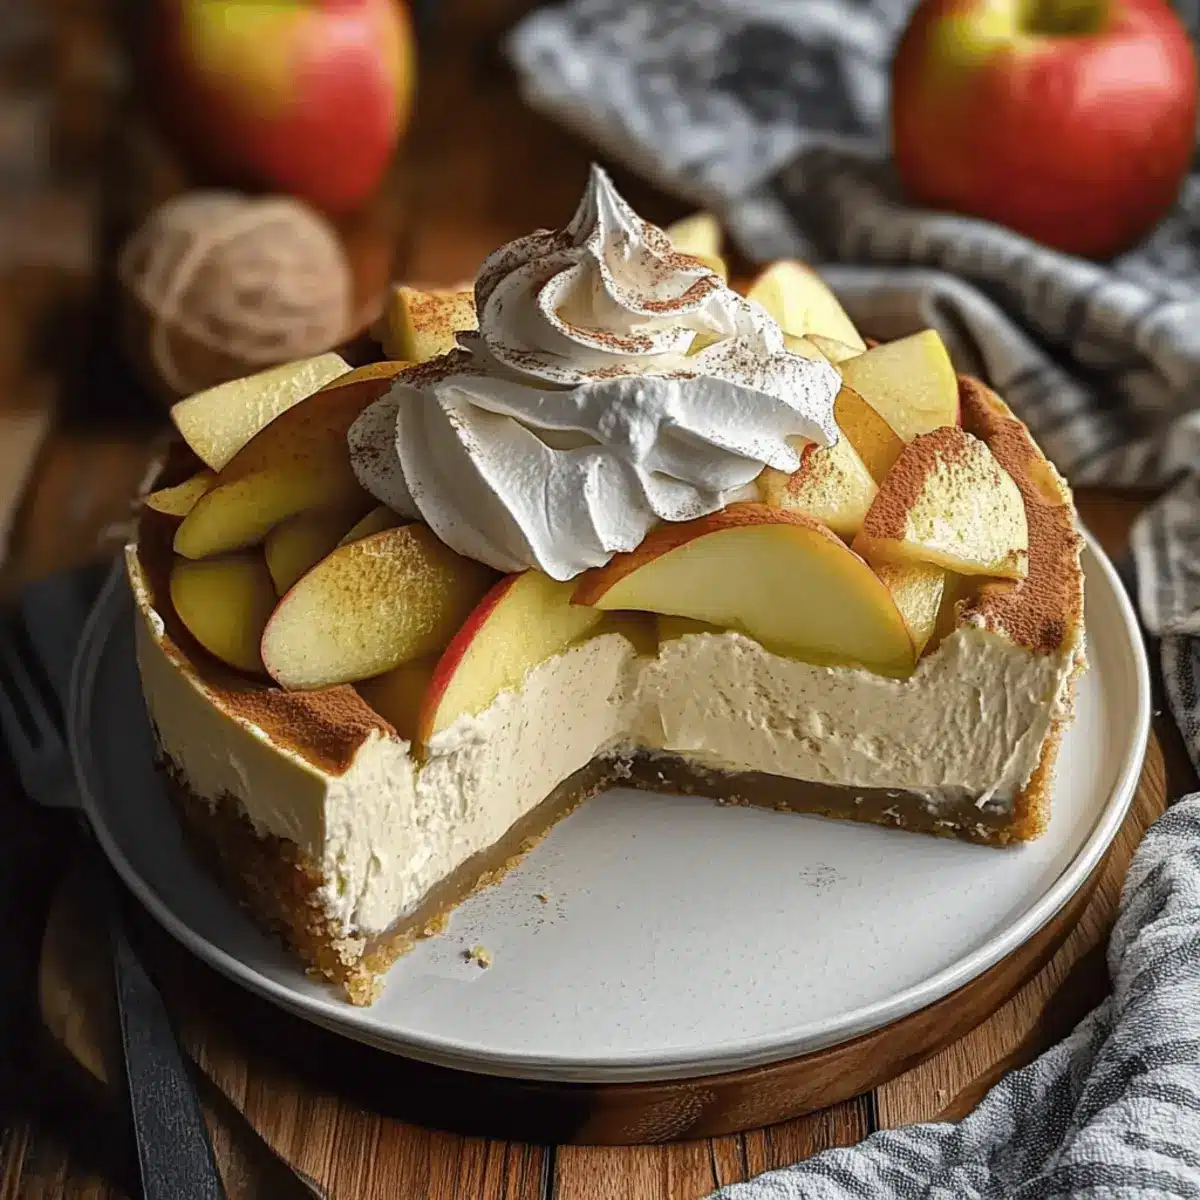
Apple Topping: Dress it up with thinly sliced apples tossed in cinnamon and sugar on top after baking! This not only looks stunning but adds an extra layer of apple goodness to each delicious bite.
For more delicious apple-inspired treats, don’t miss out on my scrumptious Apple Crumb Cake and heartwarming Apple Cinnamon Oatmeal. Let these variations add a personal touch to your fall celebrations!
Expert Tips for Apple Cider Cheesecake
- Prevent Cracking: Let the cheesecake cool gradually in the oven to avoid sudden temperature changes that can cause cracks.
- Water Bath Technique: Always use a water bath for baking; it ensures even cooking and creamy texture. Wrap your pan well to avoid leaks.
- Room Temperature Ingredients: For a smooth filling, ensure your cream cheese, eggs, and sour cream are at room temperature before mixing.
- Monitor Baking Time: Keep an eye on the cheesecake; every oven is different. A slight jiggle in the center indicates it’s done.
- Chill Thoroughly: Allow the cheesecake to chill for at least 8 hours before serving; this enhances the flavors and texture, making your Apple Cider Cheesecake irresistible!
Make Ahead Options
Preparing your Creamy Apple Cider Cheesecake ahead of time is a fantastic way to save valuable minutes on busy days! You can reduce the cider and prepare the crust up to 24 hours in advance; simply store them separately in the refrigerator. For the filling, mix everything together, cover, and refrigerate for up to 3 days. When you’re ready to bake, just pour the chilled filling into the prepared crust and follow the baking instructions. To prevent any cracks, remember to cool the cheesecake gradually and refrigerate it for at least 8 hours or overnight before serving. Trust me, it will be just as delicious, allowing you to enjoy your fall festivities with ease!
What to Serve with Creamy Apple Cider Cheesecake?
As the leaves turn and the air fills with crispness, imagine creating a full fall-inspired meal that pairs beautifully with this luscious dessert.
-
Cinnamon-Spiced Apples: Sautéed or baked, these warm cinnamon apples bring a delightful contrast to the creamy cheesecake and accentuate its apple flavor.
-
Gingerbread Cookies: With their spiced sweetness, these cookies make for a festive and crunchy texture, balancing the cheesecake’s richness perfectly.
-
Caramel Drizzle: A warm caramel sauce drizzled on top elevates the cheesecake experience, adding a sweet and slightly salty component that is irresistible.
-
Whipped Cream: Light and fluffy, a dollop of vanilla-flavored whipped cream enhances the creaminess of the cheesecake, making each bite even more indulgent.
-
Coffee or Spiced Chai Latte: A warm cup of coffee or chai complements the dessert, enhancing the flavors while providing a comforting warmth against the autumn chill.
-
Vanilla Ice Cream: Melting ice cream against your cheesecake creates a delightful contrast of temperatures and flavors, making it a timeless pairing that’s hard to resist.
These selections invite cozy gatherings filled with delicious flavors that celebrate the essence of fall.
Apple Cider Cheesecake Recipe FAQs
How do I select the best fresh apple cider for this recipe?
Absolutely! When choosing fresh apple cider, look for a product that is unfiltered and free from preservatives for the best flavor. Seasonal varieties, especially those made from tart apples like Honeycrisp, create a deliciously tangy experience. Avoid ciders with an overly sweet or artificial taste, as they can overshadow the rich apple flavors you’re aiming for.
How should I store the Apple Cider Cheesecake once it’s made?
Very simple! Store the cheesecake in an airtight container in the refrigerator for 3-4 days. Make sure it’s fully cooled after baking and wrapped well to maintain freshness. To keep it clean and avoid contamination, opt for a container with a tight seal or a cake keeper.
Can you freeze Apple Cider Cheesecake, and if so, how?
Absolutely! To freeze the cheesecake, slice it into individual portions and wrap each slice tightly in plastic wrap to prevent freezer burn. Place the wrapped slices in a resealable freezer bag or a container. It can be frozen for up to 2 months. When you’re ready to enjoy, simply thaw it in the refrigerator overnight. For a warm treat, you can microwave individual slices for 10-15 seconds.
What should I do if my cheesecake cracks during baking?
Don’t worry! If your cheesecake has cracks, it’s usually due to sudden temperature changes or overmixing. To prevent this in the future, make sure to gradually cool the cheesecake in the oven after baking and avoid mixing too vigorously. If it cracks despite your best efforts, consider topping it with whipped cream or caramel sauce to create a beautiful finish!
Is this Apple Cider Cheesecake suitable for people with allergies?
Absolutely! However, please note that this recipe contains dairy (cream cheese, sour cream) and eggs, which are common allergens. For a gluten-free version, you can substitute the crust with gluten-free cookies. Always check labels for any specific allergens related to brand ingredients, and feel free to make adjustments based on dietary needs.
What can I serve with my Apple Cider Cheesecake?
To enhance your serving experience, pair your cheesecake with fresh apple slices for a crunchy contrast or a dollop of spiced whipped cream to complement the rich flavors. A scoop of vanilla ice cream also adds a wonderful creamy touch, making it an even more delightful fall dessert!
Creamy Apple Cider Cheesecake: Fall's Sweetest Delight
Ingredients
Equipment
Method
- Pour 3 cups of fresh apple cider into a medium-sized pot and bring it to a boil over medium-high heat. Allow the cider to simmer for 30-45 minutes, stirring occasionally, until it has thickened to about 1/3 cup. Set aside to cool.
- Preheat your oven to 350°F (175°C). Grease a springform pan and line the bottom with parchment paper.
- In a food processor, grind digestive cookies into fine crumbs. Mix them with melted butter, a pinch of salt, and powdered sugar. Press this mixture firmly into the bottom and slightly up the sides of the pan. Bake for 10 minutes, then let cool.
- In a stand mixer, beat together room temperature cream cheese and brown sugar until smooth and creamy, about 2-3 minutes. Gradually add in sour cream, reduced cider, vanilla extract, salt, ground cinnamon, and flour. Mix on low speed until combined.
- Add the eggs to the mixture one at a time, mixing on low speed until blended. Avoid overmixing.
- Pour the filling into the cooled crust and smooth the top with a spatula. Place the springform pan inside a larger baking dish filled with hot water, ensuring the water reaches halfway up the sides of the pan.
- Bake for 80-90 minutes. It’s done when the sides are set, but the center jiggles slightly.
- Turn off the oven and crack the door open slightly. Let the cheesecake cool in the oven for 30 minutes. Then cool on the counter for an additional hour before transferring to the refrigerator to chill for at least 8 hours.
Leave a Reply